The Perfect Irish Cheese Toastie Recipe
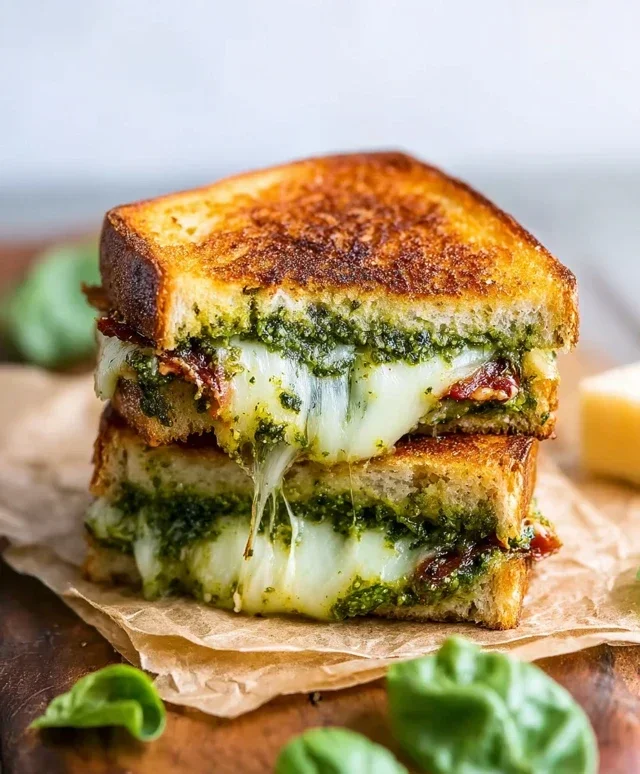
The Irish Cheese Toastie: a seemingly simple sandwich that holds a surprising amount of comfort and culinary magic. It’s more than just melted cheese between bread; it’s a hug in edible form, a reliable friend on a chilly evening, and a testament to how humble ingredients can create something truly extraordinary. Why do we, and so many others, adore this classic dish? Perhaps it’s the irresistible allure of golden, crispy bread giving way to a gooey, molten cheese interior. Or maybe it’s the undeniable nostalgia it evokes, transporting us back to childhood kitchens or cozy pub corners. What truly makes the Irish Cheese Toastie special is its beautiful simplicity, allowing the quality of the cheese and the perfect crisp of the bread to shine through, proving that sometimes, less is indeed more when it comes to deliciousness.
Dive into the simple perfection of our recipe.
Get ready to elevate your grilled cheese game!
Irish Cheese Toastie
There’s something incredibly comforting about a perfectly made cheese toastie. It’s a simple dish, but when done right, it’s a symphony of textures and flavors. And when you infuse it with the rich, tangy goodness of Irish cheddar? Well, that’s when you elevate it from mere snack to something truly special. This Irish Cheese Toastie recipe takes that beloved classic and gives it a distinctly Irish soul. It’s the perfect weekend brunch, a delightful lunch, or even a satisfying supper. The key here is the quality of your ingredients, especially that glorious aged Irish cheddar. Don’t be afraid to seek out a good, mature variety – its robust flavor will shine through beautifully.
Ingredients:
Cooking Instructions
Now, let’s get to the heart of making this delicious Irish Cheese Toastie. It’s a straightforward process, but paying attention to a few key details will make all the difference between an ordinary toastie and an extraordinary one. We’ll start by preparing our batter, which is what gives this toastie its beautiful golden crust and incredibly moist interior.
1. Prepare the Batter: In a medium-sized bowl, crack your 3 large eggs. To these, add the 2 teaspoons of Dijon mustard and the 2 teaspoons of Worcestershire sauce. Whisk everything together vigorously until it’s well combined and has a uniform color. The Dijon mustard adds a subtle sharpness that cuts through the richness of the cheese and eggs, while the Worcestershire sauce brings a delightful umami depth. Don’t skimp on the whisking; a well-emulsified batter will create a more consistent and pleasing texture.
2. Assemble the Sandwiches: Lay out your 6 slices of bread. I personally love using a hearty brown or potato bread for this, as it holds up well to the batter and complements the strong cheese flavor. However, feel free to use your favorite – white or multi-grain will also work wonderfully. On three of the bread slices, generously pile the 7-8 ounces of shredded aged Irish cheddar. Make sure to distribute the cheese evenly, getting it close to the edges, so you get that delightful, gooey cheese pull in every bite. Season the cheese with the 1/2 teaspoon of cracked black pepper. Freshly cracked pepper offers so much more aroma and punch than pre-ground. Top each pile of cheese with another slice of bread, creating your sandwiches.
3. Coat the Sandwiches: Now, we’re going to dip these sandwiches into our egg batter. This is where the magic happens. Heat a large skillet or frying pan over medium heat. Add about half of the softened butter to the pan, letting it melt and coat the surface. While the butter is melting and the pan is warming up, take one sandwich at a time and dip it into the egg batter. Ensure both sides of the sandwich are thoroughly coated. Don’t let them soak for too long, just a quick dip on each side is sufficient to absorb enough batter without making the bread soggy. You want the batter to cling to the bread, creating a rich coating.
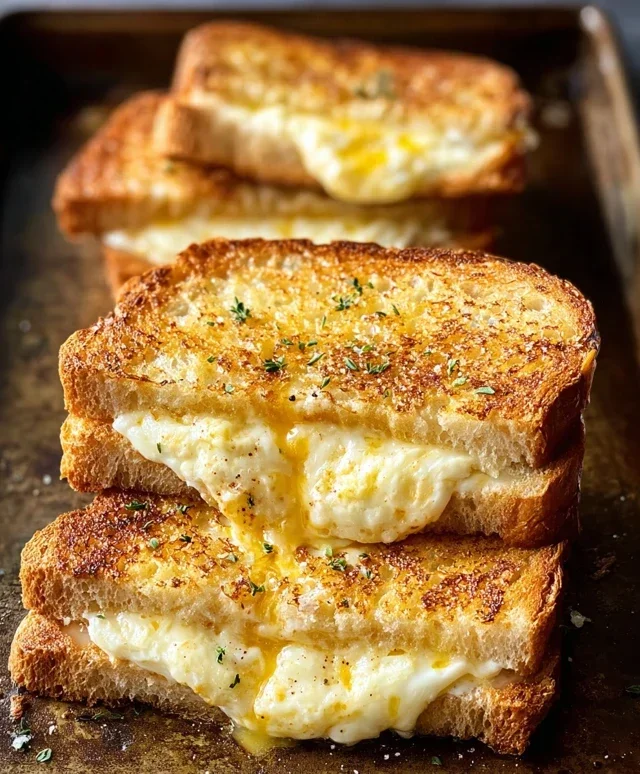
4. Cook the Toasties: Carefully place the batter-coated sandwiches into the heated, buttered skillet. You might need to cook them in batches depending on the size of your pan to avoid overcrowding, which can lead to uneven cooking and steaming rather than crisping. Cook each side for approximately 3-5 minutes, or until the bread is a beautiful golden brown and the cheese inside is melting and gooey. Keep an eye on the heat; if it’s too high, the bread will burn before the cheese has a chance to melt properly. If it’s too low, they might take too long and become greasy. You’re looking for that perfect balance of crispy exterior and molten interior. Add the remaining butter to the pan as needed between batches.
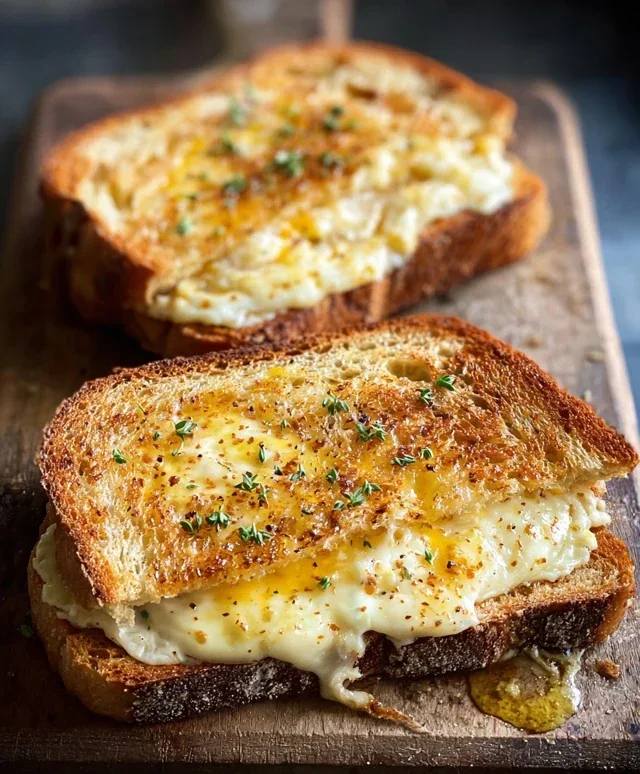
5. Finish and Serve: Once your toasties are golden brown and the cheese is gloriously melted, carefully remove them from the skillet. Transfer them to a cutting board. Sprinkle the tops generously with the 1 tablespoon of fresh chives. The chives add a lovely fresh, oniony bite that cuts through the richness of the cheese and egg. For the best experience, serve immediately while they are hot and the cheese is at its most melty. You can cut them in half diagonally, revealing the beautiful cheesy interior. Enjoy this taste of Ireland!
Conclusion:
So there you have it – the ultimate guide to creating a perfect Irish Cheese Toastie! We’ve explored how simple ingredients like good quality Irish cheese and butter can come together to create something truly special. This recipe is fantastic because it’s incredibly forgiving, undeniably delicious, and offers a taste of pure comfort food. It’s the ideal quick lunch, a satisfying supper, or even a late-night snack that will warm you from the inside out. Don’t be afraid to experiment and make this Irish Cheese Toastie your own!
I encourage you to grab your ingredients and give this recipe a try. You’ll be rewarded with a golden-brown, gooey, cheesy delight that’s sure to become a staple in your kitchen. Serve it alongside a steaming bowl of homemade soup, a crisp green salad, or simply enjoy it on its own with a cup of tea. For a touch of elegance, consider adding a dollop of fig jam or a sprinkle of chives. The possibilities are endless!
Frequently Asked Questions:
What kind of Irish cheese is best for a toastie?
While many Irish cheeses work beautifully, a mature Irish cheddar is a classic choice for its sharp, distinctive flavour and excellent melting qualities. Kerrygold, Ardsallagh, or anything labelled as a “Farmhouse Cheddar” will elevate your Irish Cheese Toastie.
Can I make this toastie vegan or dairy-free?
Absolutely! You can substitute vegan butter for the dairy butter and use a good quality vegan cheese alternative that melts well. Many plant-based cheddars are now available and perform admirably in a toastie.
What can I serve with my Irish Cheese Toastie?
It’s incredibly versatile! Classic pairings include tomato soup or a hearty lentil soup. A simple side salad dressed with a vinaigrette also cuts through the richness beautifully. For something a bit different, try serving it with a side of pickled onions or chutney.
Irish Cheese Toastie
A delicious and comforting Irish cheese toastie, perfect for a quick meal or snack.
Ingredients
-
6 slices bread (brown, potato, white, or multi-grain)
-
2 tablespoons butter, softened
-
3 large eggs
-
2 teaspoons Dijon mustard
-
2 teaspoons Worcestershire sauce
-
7-8 ounces aged Irish cheddar, shredded
-
1/2 teaspoon cracked black pepper
-
1 tablespoon fresh chives, chopped
Instructions
-
Step 1
In a shallow bowl, whisk together the eggs, Dijon mustard, and Worcestershire sauce until well combined. -
Step 2
Add the shredded Irish cheddar and cracked black pepper to the egg mixture and stir gently to combine. -
Step 3
Lightly butter one side of each slice of bread. Place half of the bread slices, butter-side down, into the cheese and egg mixture, ensuring they are well coated. -
Step 4
Heat a non-stick skillet or griddle over medium heat. Place the coated bread slices, cheese-side up, into the skillet. -
Step 5
Top each with a remaining slice of bread, butter-side up. Cook for 4-5 minutes per side, or until golden brown and the cheese is melted and gooey. -
Step 6
Remove from skillet, sprinkle with fresh chives, and serve immediately.
Important Information
Nutrition Facts (Per Serving)
It is important to consider this information as approximate and not to use it as definitive health advice.
Allergy Information
Please check ingredients for potential allergens and consult a health professional if in doubt.