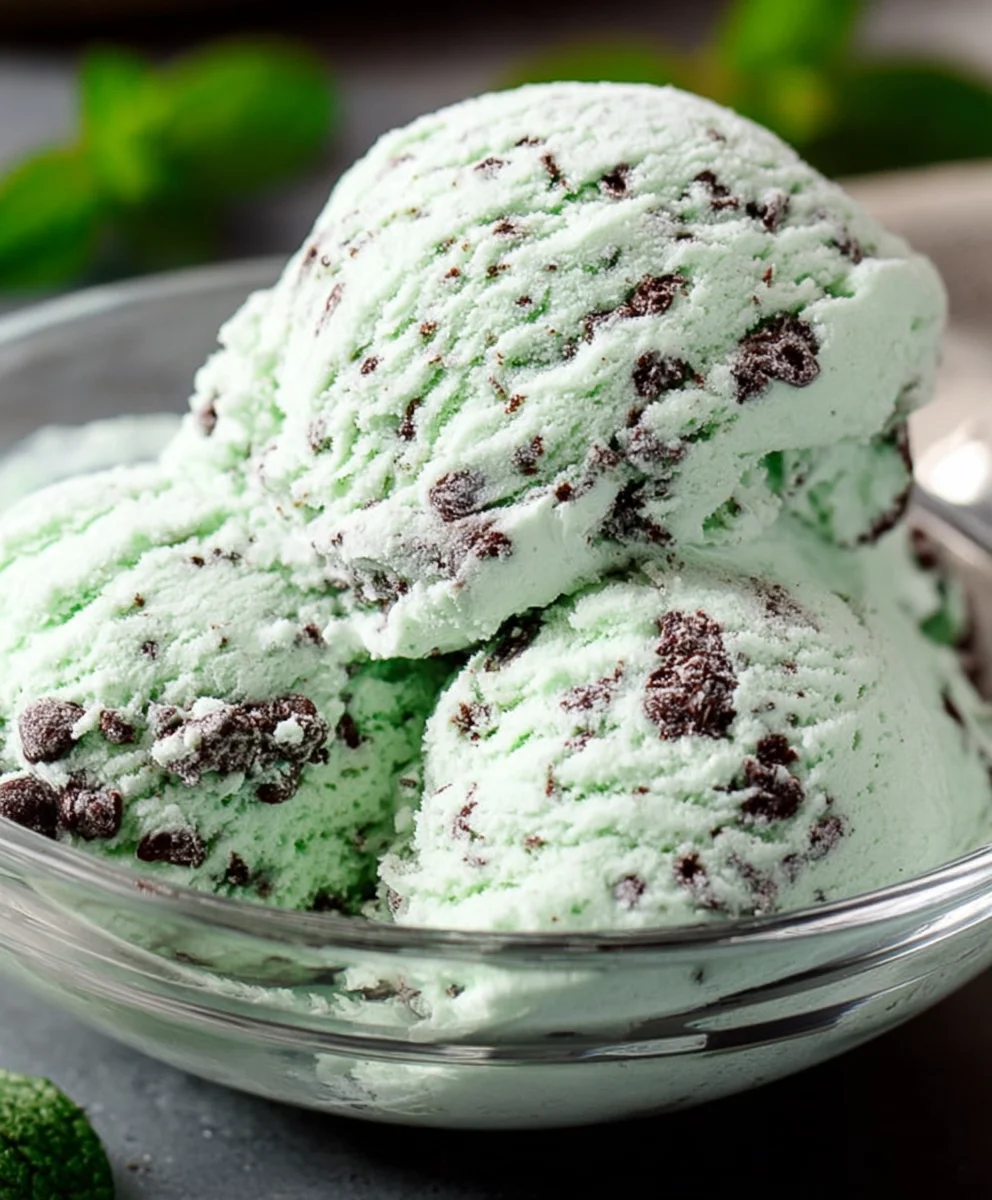
Mint Chocolate Chip Ice Cream Recipe – Easy & Delicious
Mint Chocolate Chip Ice Cream, a timeless classic, has a magical way of instantly transporting us back to carefree summer days and childhood joy. It’s more than just a frozen treat; it’s a nostalgic hug in a bowl, a refreshing escape from the ordinary. What is it about the vibrant green hue and the delightful dance of cool mint with rich, melty chocolate chips that makes this flavor so universally beloved? Perhaps it’s the invigorating coolness that awakens the palate, perfectly balanced by the satisfying crunch and luxurious melt of the chocolate. This particular recipe elevates the experience even further, offering a creamy, decadent base that’s intensely minty without being overpowering, studded with generous chunks of the finest dark chocolate. Get ready to unlock the secrets to crafting your own truly exceptional batch of Mint Chocolate Chip Ice Cream right in your own kitchen.
Ingredients:
- 1 tablespoon cream cheese, softened
- 1/3 cup granulated sugar
- 1 teaspoon vanilla extract
- 3/4 cup heavy cream
- 1 cup whole milk
- 1 teaspoon mint extract
- 1/4 cup mini chocolate chips
- Green food coloring (optional)
Preparing the Base
Step 1: Softening the Cream Cheese
The first crucial step in achieving a luxuriously smooth Mint Chocolate Chip Ice Cream is to properly soften the cream cheese. Take your tablespoon of cream cheese out of the refrigerator about 30-60 minutes before you begin extract. You want it to be spreadable, not melted. This is important because cream cheese acts as a stabilizer in ice cream, preventing large ice crystals from forming and contributing to a creamier texture. If you’re short on time, you can gently warm it in a microwave for very short bursts (5-10 seconds at a time), but be very careful not to overheat it. Once softened, place the cream cheese in a medium-sized bowl.
Step 2: Creating the Sweet and Aromatic Foundation
To the softened cream cheese, add the 1/3 cup of granulated sugar and the 1 teaspoon of vanilla extract. Using a whisk or an electric mixer on low speed, beat these ingredients together until they are well combined and the mixture is relatively smooth. There might be tiny flecks of cream cheese visible, which is perfectly fine. The goal here is to incorporate the sugar and vanilla, which will provide sweetness and that classic vanilla undertone that complements the mint beautifully. Don’t overmix at this stage; just ensure everything is incorporated.
Assembling the Ice Cream Mixture
Step 3: Incorporating Dairy and Flavor
Now, it’s time to build the body of our ice cream. Pour the 3/4 cup of heavy cream and 1 cup of whole milk into the bowl with the cream cheese mixture. Add the 1 teaspoon of mint extract. Whisk everything together thoroughly until the mixture is uniform and the cream cheese is fully integrated. If you’re using green food coloring for that signature mint chip appearance, add a few drops now, starting with just two or three. Whisk again until the color is evenly distributed and you achieve your desired shade. Remember, you can always add more food coloring, but you can’t take it away, so start conservatively.
Step 4: Chilling the Base for Optimal Churning
This step is essential for achieving the best texture when churning. Once your ice cream base is fully combined and the color is to your liking, cover the bowl tightly with plastic wrap or a lid. Place the mixture in the refrigerator and chill it for at least 2 hours, or ideally, until it is thoroughly cold. Chilling the base ensures that when it goes into your ice cream maker, it will freeze more efficiently, leading to smaller ice crystals and a smoother, richer ice cream. Cold ingredients churn better and faster.
Churning and Finishing Touches
Step 5: Churning and Adding the Chocolate Chips
Once your ice cream base is well-chilled, it’s time to churn it according to your ice cream maker’s manufacturer instructions. This process typically takes about 20-30 minutes, depending on your machine. During the last 5 minutes of churning, add the 1/4 cup of mini chocolate chips. Allowing them to be incorporated at the end prevents them from breaking down too much during the churning process and ensures you have distinct pockets of chocolate throughout your ice cream. If your ice cream maker has a feature to add mix-ins, use that. Otherwise, simply sprinkle them in when the churning is nearing completion.
Step 6: Freezing for Ultimate Firmness
After churning, the ice cream will have a soft-serve consistency. For a firmer, scoopable ice cream, transfer the churned mixture to a freezer-safe container. Press a piece of parchment paper or plastic wrap directly onto the surface of the ice cream to prevent ice crystals from forming on top. Cover the container tightly and place it in the freezer for at least 4-6 hours, or until it is firm enough to scoop. This final freezing stage allows the ice cream to set and develop its perfect texture. Enjoy your homemade Mint Chocolate Chip Ice Cream!
Conclusion:
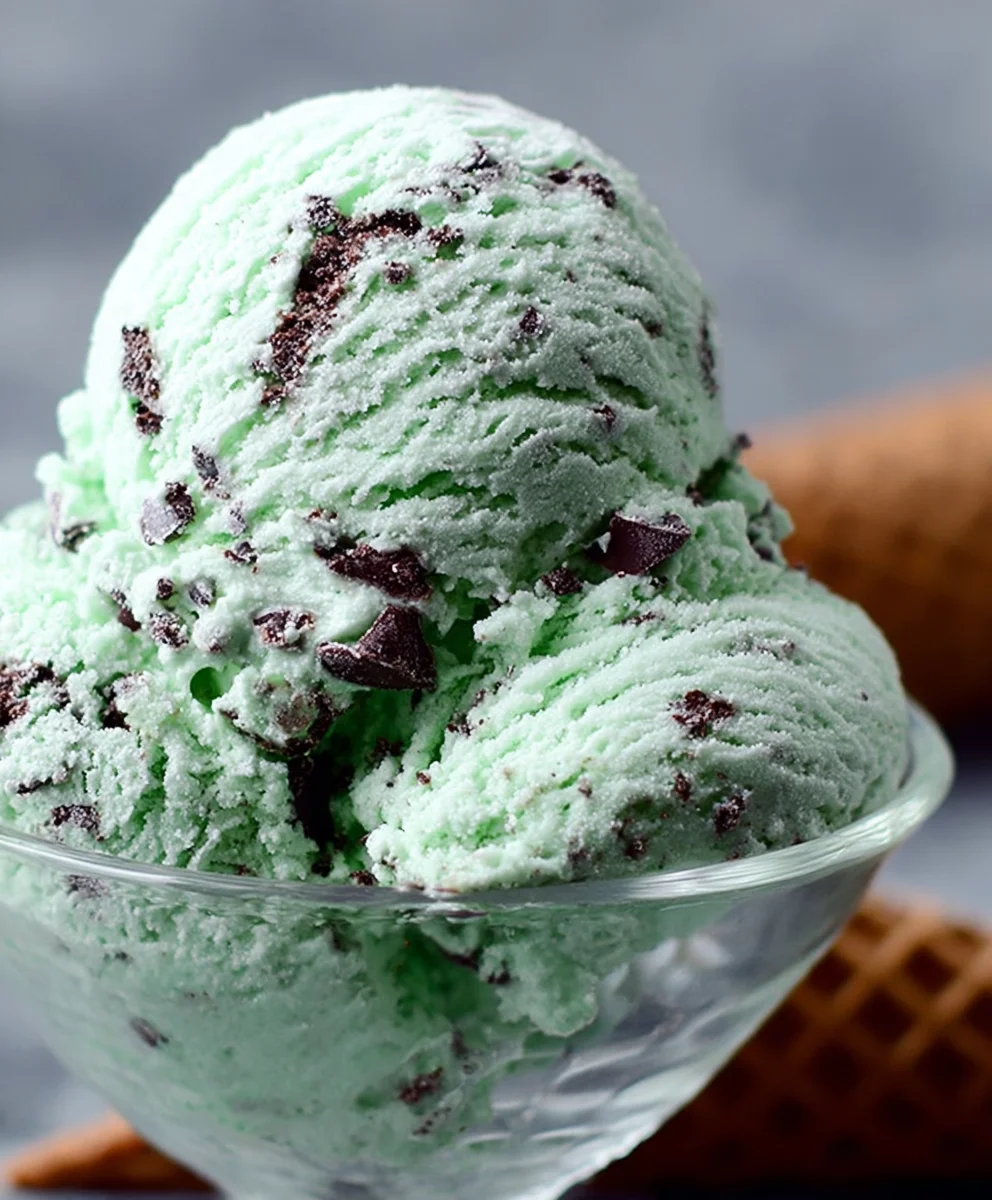
And there you have it – your ultimate guide to creating the most delightful Mint Chocolate Chip Ice Cream right in your own kitchen! We’ve walked through each step, from churning the creamy base to folding in those delightful chocolate chips, ensuring a scoop of pure bliss. This homemade Mint Chocolate Chip Ice Cream is not just a dessert; it’s an experience, a nostalgic treat that’s even better when made with love. Don’t be afraid to experiment with different types of chocolate or even add a touch of swirl for an extra visual appeal.
Serve this glorious Mint Chocolate Chip Ice Cream in a cone, a bowl, or as the star of a decadent sundae. It pairs wonderfully with warm brownies or a simple slice of cake. Remember, the joy of making ice cream at home is the freedom to customize. Whether you prefer darker chocolate chunks, smaller chocolate shavings, or even a hint of vanilla extract alongside the mint, this recipe is your canvas.
We hope this recipe inspires you to get your ice cream maker buzzing and your taste buds singin extractg. Enjoy every spoonful of your perfect Mint Chocolate Chip Ice Cream!
Frequently Asked Questions about Mint Chocolate Chip Ice Cream:
Q1: My Mint Chocolate Chip Ice Cream isn’t as smooth as I’d like. What can I do?
A smooth texture is key! Ensure your ice cream base is well-chilled before churning, as this helps it freeze more evenly. Also, avoid over-churning; stop once it reaches a soft-serve consistency. If you’re using an ice cream maker, make sure it’s properly pre-frozen if it has a freezer bowl. Sometimes, a touch more sugar can help with smoothness as sugar lowers the freezing point, preventing large ice crystals.
Q2: Can I make Mint Chocolate Chip Ice Cream without an ice cream maker?
Yes, absolutely! While an ice cream maker is ideal, you can achieve a delicious no-churn Mint Chocolate Chip Ice Cream. One popular method involves whipping heavy cream and folding in sweetened condensed milk, mint extract, and chocolate chips. You’ll then freeze this mixture, stirring vigorously every 30-45 minutes for the first few hours to break up ice crystals. It requires a bit more manual effort but is certainly rewarding!
Mint Chocolate Chip Ice Cream – Easy & Delicious
A simple and delicious recipe for homemade mint chocolate chip ice cream with a creamy texture and perfect balance of mint and chocolate.
Ingredients
-
1 tablespoon cream cheese, softened
-
1/3 cup granulated sugar
-
1 teaspoon vanilla extract
-
3/4 cup heavy cream
-
1 cup whole milk
-
1 teaspoon mint extract
-
1/4 cup mini chocolate chips
-
Green food coloring (optional)
Instructions
-
Step 1
Soften the cream cheese by leaving it at room temperature for 30-60 minutes until spreadable. -
Step 2
In a medium bowl, whisk together the softened cream cheese, granulated sugar, and vanilla extract until well combined and relatively smooth. -
Step 3
Pour in the heavy cream, whole milk, and mint extract. Whisk until the mixture is uniform and the cream cheese is fully integrated. Add a few drops of green food coloring if desired and whisk until evenly distributed. -
Step 4
Cover the bowl tightly and chill the mixture in the refrigerator for at least 2 hours, or until thoroughly cold. -
Step 5
Churn the chilled base in an ice cream maker according to the manufacturer’s instructions. During the last 5 minutes of churning, add the mini chocolate chips. -
Step 6
Transfer the churned ice cream to a freezer-safe container. Press parchment paper or plastic wrap directly onto the surface, cover tightly, and freeze for at least 4-6 hours until firm.
Important Information
Nutrition Facts (Per Serving)
It is important to consider this information as approximate and not to use it as definitive health advice.
Allergy Information
Please check ingredients for potential allergens and consult a health professional if in doubt.