Easy Lemon Vinaigrette Dressing Recipe
Basic Lemon Vinaigrette Dressing is more than just a salad topper; it’s a culinary foundation, a simple yet profoundly versatile flavor enhancer that can elevate everything from crisp greens to roasted vegetables. Have you ever wondered what gives those restaurant salads that irresistible, bright zest and balanced tang? Often, it’s a perfectly crafted basic lemon vinaigrette dressing. This isn’t just about adding moisture to your lettuce; it’s about a symphony of flavors – the sharp, citrusy notes of fresh lemon juice meeting the smooth richness of olive oil, with just a whisper of seasoning to tie it all together. People adore this dressing because it’s light, refreshing, and allows the natural flavors of your ingredients to shine through, rather than overpowering them. What truly makes this basic lemon vinaigrette dressing special is its effortless simplicity and adaptability. It’s the kind of recipe you can whip up in minutes, using pantry staples, and then endlessly customize to suit your mood or the dish at hand. It’s a testament to the idea that sometimes, the most beautiful flavors come from the most basic of ingredients.
Ingredients:
- ¼ cup apple cider vinegar
- 2 Tablespoons fresh lemon juice
- 2 Tablespoons water
- 1 Tablespoon Dijon mustard
- 2 teaspoons honey or maple syrup (or stevia, to taste)
- 1 teaspoon dried oregano (or 1 Tablespoon fresh, finely chopped)
- 1 clove garlic, minced
- ½ teaspoon sea salt
- ¼ teaspoon black pepper
- ½ cup + 2 Tablespoons olive oil
Preparing the Vinaigrette Base
Step 1: Combine the Tangy Elements
In a medium-sized bowl, begin extract by adding the ¼ cup of apple cider vinegar and the 2 Tablespoons of fresh lemon juice. These two liquids form the foundational acidity of our Basic Lemon Vinaigrette Dressing. The apple cider vinegar provides a mellow, fruity tang, while the fresh lemon juice offers a brighter, more assertive citrus note that cuts through richness beautifully. Whisk them together gentgin extractto begin the emulsification process.
Step 2: Incorporate Flavor Enhancers and Sweetness
Next, add the 1 Tablespoon of Dijon mustard to the bowl. Dijon mustard is crucial here; it not only adds a subtle peppery kick and a creamy texture but also acts as an emulsifier, helping the oil and vinegar to bind together more effectively. Then, introduce the 2 teaspoons of honey or maple syrup. This sweetener is vital for balancing the acidity of the vinegar and lemon juice, preventing the dressing from being too sharp. If you prefer a sugar-free option or want to control sweetness precisely, you can use stevia to taste at this stage. Whisk this mixture thoroughly until the honey or maple syrup is completely dissolved and the Dijon mustard is well incorporated.
Step 3: Introduce Aromatics and Seasoning
Now it’s time to layer in the aromatic and seasoning components. Add the 1 teaspoon of dried oregano. If you have fresh oregano on hand, using 1 Tablespoon of finely chopped fresh leaves will offer a more vibrant and nuanced herbaceous flavor. Next, add the 1 clove of minced garlic. Mincing the garlic finely ensures its flavor is distributed evenly throughout the dressing without any overpowering raw garlic bites. Finally, season with ½ teaspoon of sea salt and ¼ teaspoon of black pepper. The salt will enhance all the other flavors, and the pepper will add a touch of warmth and complexity. Whisk everything together vigorously to ensure all these dry and pungent ingredients are dispersed evenly throughout the liquid base.
Emulsifying the Olive Oil
Step 4: Slowly Add the Olive Oil
This is a critical step for achieving a well-emulsified vinaigrette that doesn’t separate immediately. With the whisk still movinggin extract the bowl, begin to slowly drizzle in the ½ cup plus 2 Tablespoons of olive oil. Start with a very thin, steady stream, almost drop by drgin extract especially in the beginning. As you see the mixture start to thicken and become creamy, you can gradually increase the thickness of the stream, but still maintain a slow and controlled pour. It’s this gradual addition that allows the oil to be properly incorporated into the acidic and mustard-based mixture, creating a stable emulsion. If you were to dump all the oil in at once, the dressing would likely separate into distinct layers.
Step 5: Achieve the Perfect Consistency and Taste Test
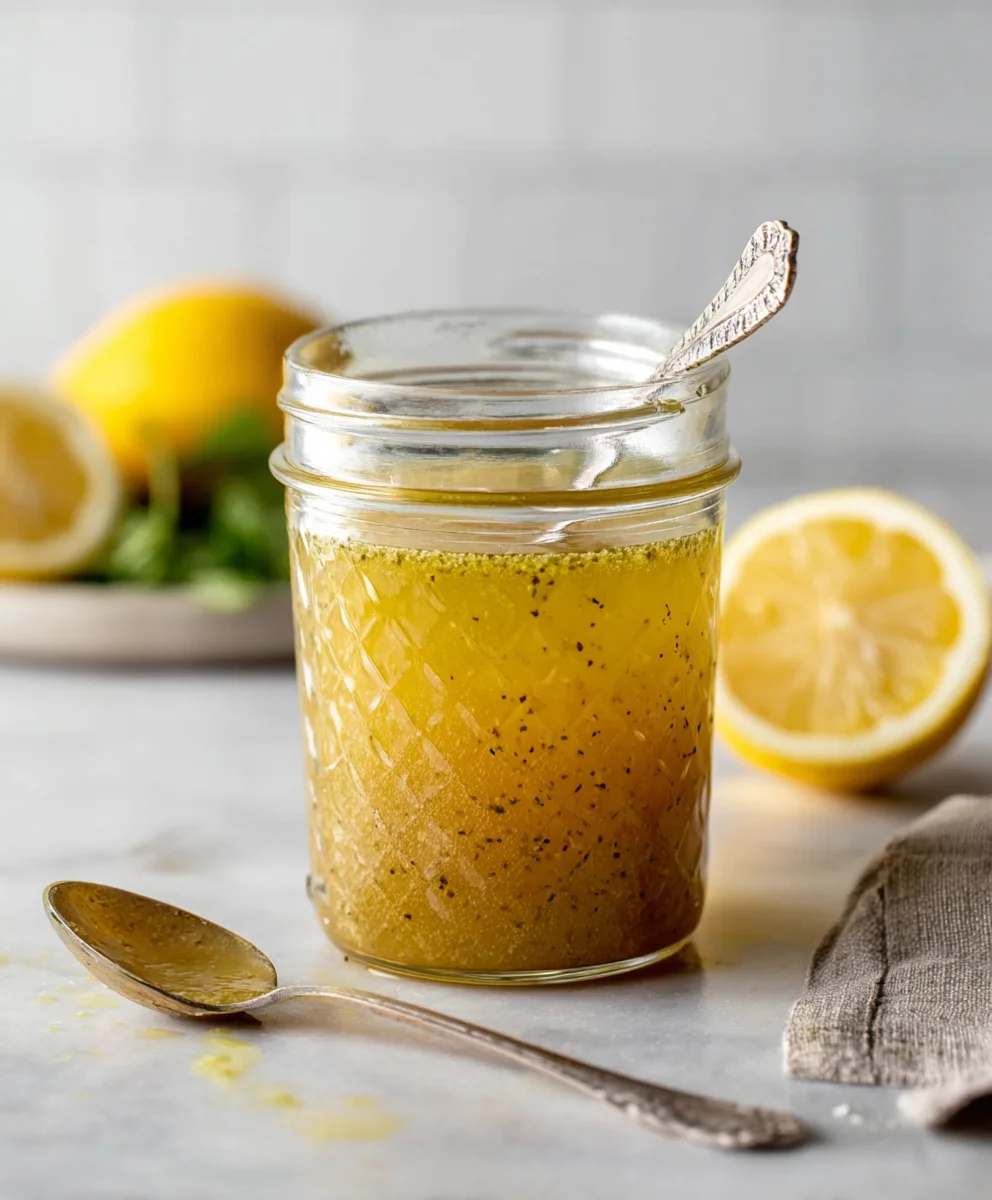
Continue whisking vigorously while you add the olive oil until it’s all incorporated and the vinaigrette has reached a thickened, opaque, and slightly creamy consistency. The dressing should coat the back of a spoon nicely. Once all the oil is added and fully emulsified, it’s time for the most important part: tasting and adjusting. Dip a clean spoon into the dressing and taste it. Does it need more salt? A touch more sweetness to balance the acidity? Perhaps a little more lemon juice for brightness? This is your opportunity to customize the Basic Lemon Vinaigrette Dressing to your exact preferences. Whisk in any adjustments you make.
Step 6: Final Whisk and Storage
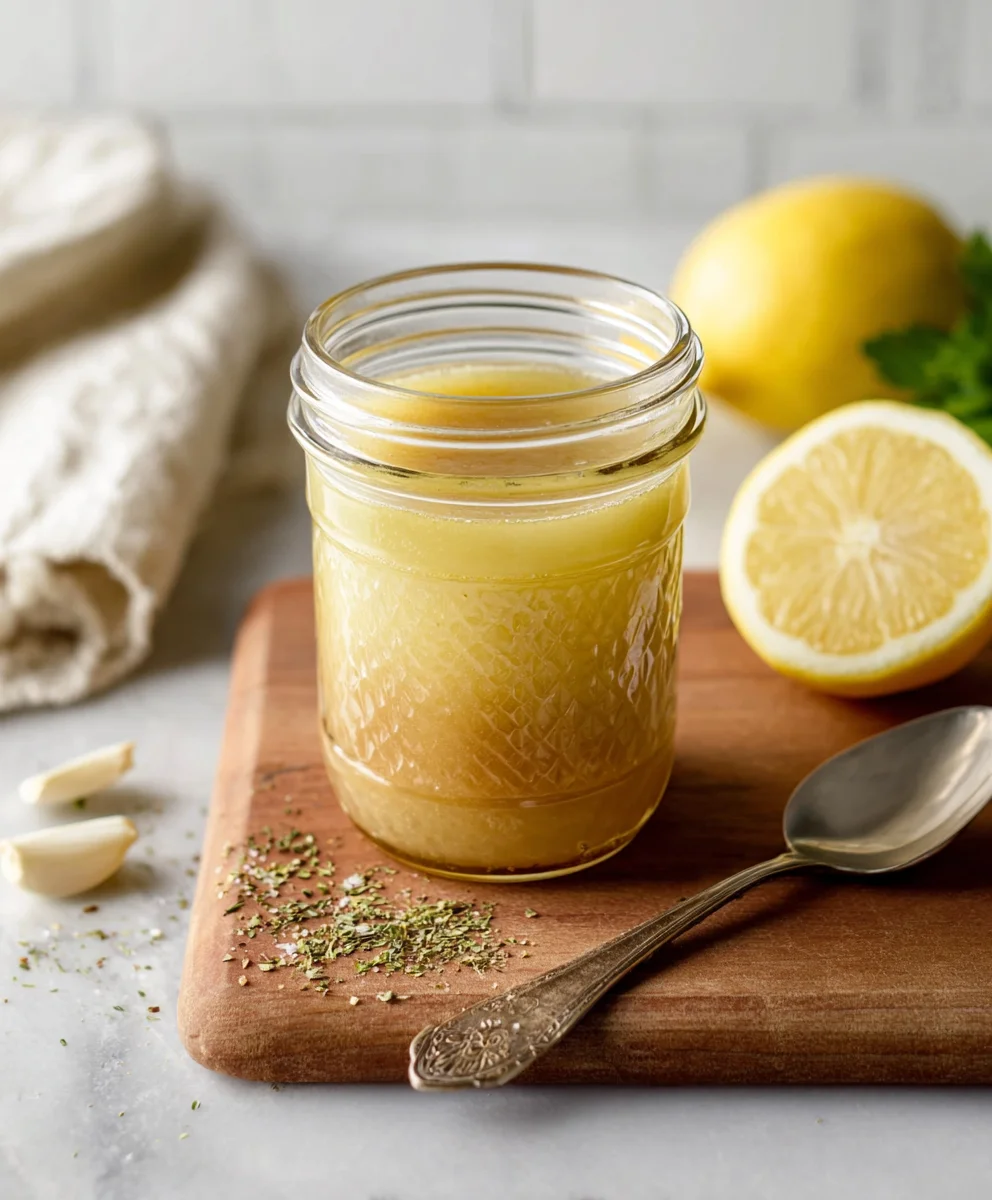
Give the vinaigrette one final, thorough whisk. This ensures everything is perfectly blended and the emulsion is as stable as possible. For optimal flavor, you can let the dressing sit for about 15-30 minutes at room temperature before serving, allowing the flavors to meld. However, if you’re in a hurry, it’s perfectly fine to serve it immediately. Transfer the finished Basic Lemon Vinaigrette Dressing to an airtight container, such as a jar or a cruet. It will keep in the refrigerator for up to two weeks. Remember that the natural ingredients may cause some separation over time, so give it a good shake or whisk before each use.
Conclusion:
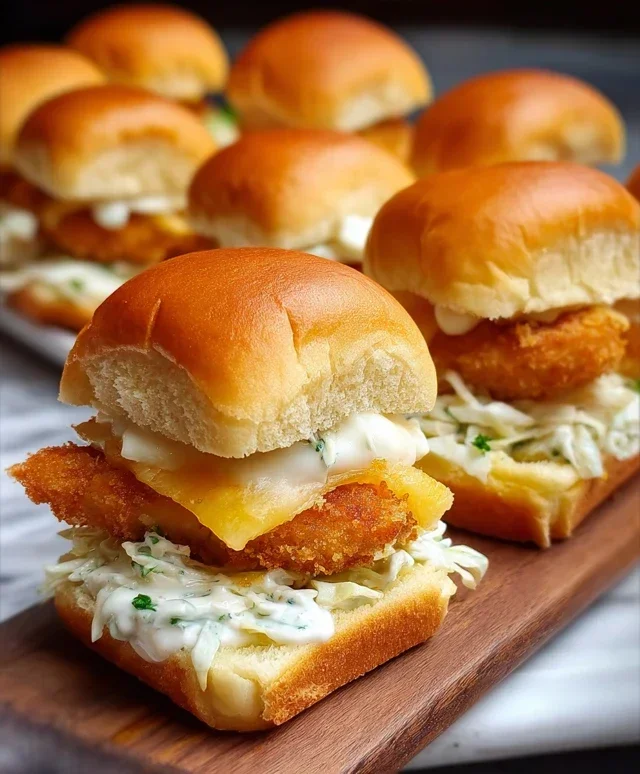
And there you have it – your very own homemade Basic Lemon Vinaigrette Dressing! As you’ve seen, crafting this versatile dressing is incredibly simple and requires just a handful of pantry staples. The bright, zesty flavor of fresh lemon juice combined with good quality olive oil creates a perfect balance that can elevate any salad from ordinary to extraordinary. Don’t be afraid to experiment! This recipe is a fantastic starting point for countless delicious variations. Enjoy your freshly made dressing on a crisp green salad, as a marinade for chicken or fish, or even drizzled over roasted vegetables. Happy cooking!
Frequently Asked Questions:
Can I make this Basic Lemon Vinaigrette Dressing ahead of time?
Absolutely! The Basic Lemon Vinaigrette Dressing can be made several days in advance. Store it in an airtight container in the refrigerator. You may notice that the oil and lemon juice separate slightly after sitting, which is perfectly normal. Simply shake or whisk vigorously before serving to re-emulsify.
What are some other ways to use this Basic Lemon Vinaigrette Dressing besides on salads?
The versatility of this Basic Lemon Vinaigrette Dressing is one of its greatest assets! It’s a wonderful marinade for grilled or baked chicken, fish, and even tofu. Drizzle it over steamed or roasted vegetables like asparagus, broccoli, or Brussels sprouts. It also works beautifully as a light sauce for cooked grains like quinoa or couscous, or even as a dip for fresh bread.
Easy Lemon Vinaigrette Dressing
A simple and versatile lemon vinaigrette dressing recipe perfect for salads and marinades.
Ingredients
-
¼ cup apple cider vinegar
-
2 Tablespoons fresh lemon juice
-
2 Tablespoons water
-
1 Tablespoon Dijon mustard
-
2 teaspoons honey or maple syrup (or stevia, to taste)
-
1 teaspoon dried oregano
-
1 clove garlic, minced
-
½ teaspoon sea salt
-
¼ teaspoon black pepper
-
½ cup + 2 Tablespoons olive oil
Instructions
-
Step 1
In a medium-sized bowl, combine the apple cider vinegar and fresh lemon juice. Whisk together. -
Step 2
Add the Dijon mustard, honey or maple syrup (or stevia), and whisk until dissolved and well incorporated. -
Step 3
Stir in the dried oregano, minced garlic, sea salt, and black pepper. Whisk vigorously. -
Step 4
While whisking continuously, slowly drizzle in the olive oil until fully emulsified and the dressing thickens. -
Step 5
Taste and adjust seasonings as needed. Give it a final thorough whisk. -
Step 6
Transfer to an airtight container. For optimal flavor, let sit for 15-30 minutes before serving. Shake or whisk before each use.
Important Information
Nutrition Facts (Per Serving)
It is important to consider this information as approximate and not to use it as definitive health advice.
Allergy Information
Please check ingredients for potential allergens and consult a health professional if in doubt.