Easy Candy Apples Recipe-Sweet Treat Fun
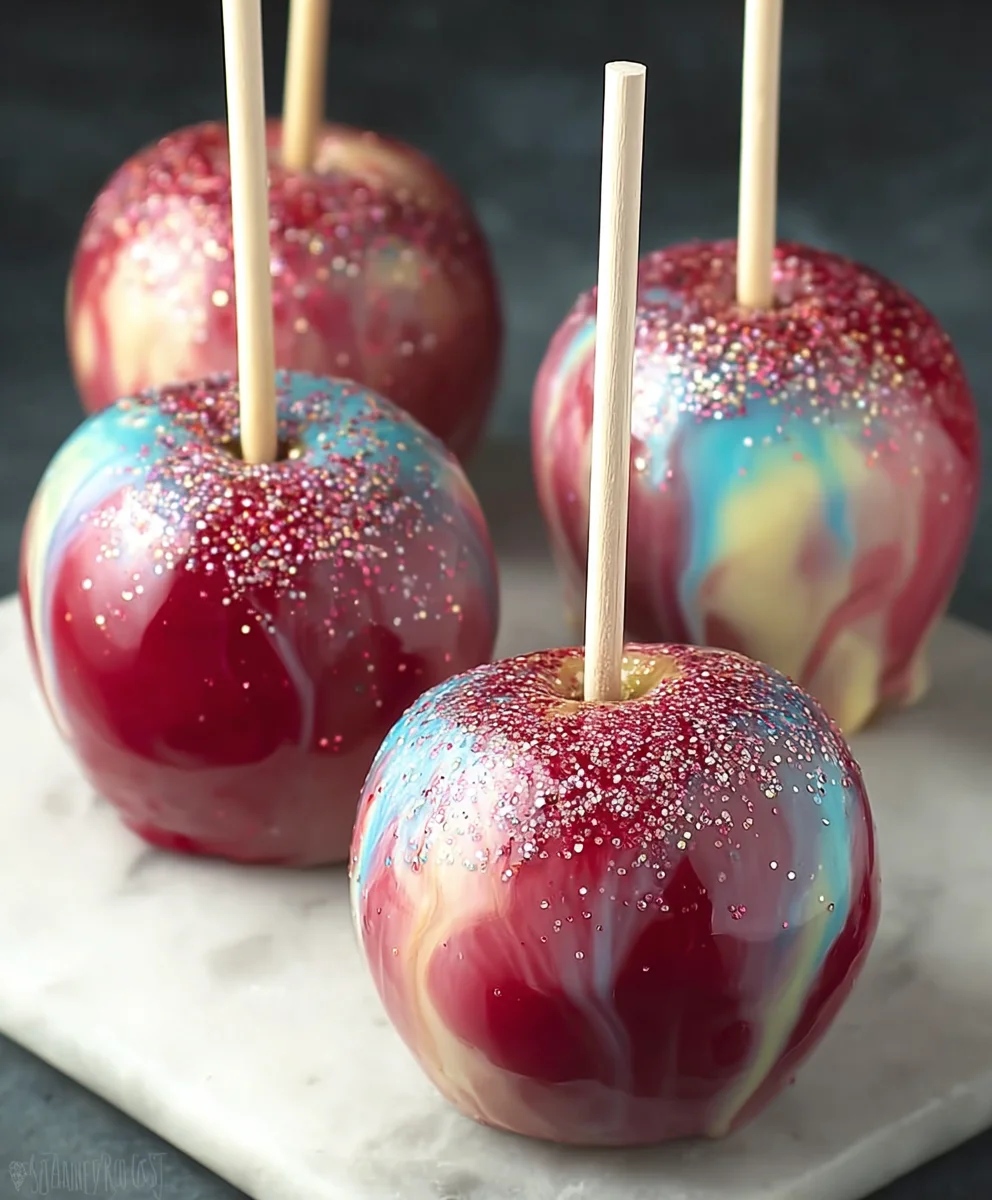
Candy Apples aren’t just a treat; they’re a nostalgic portal to carnival lights, crisp autumn air, and pure, unadulterated joy. There’s something inherently magical about that perfectly shiny, vibrant shell encasing a crisp, juicy apple. We all remember the thrill of trying to take that first bite without getting too sticky, a delightful challenge that adds to their charm. What makes these classic Confectionery Apples so enduringly beloved? It’s the sublime contrast: the tartness of the fruit against the intensely sweet, crunchy coating. This recipe unlocks that enchantment, allowing you to recreate those cherished memories right in your own kitchen. Forget the pre-packaged versions; we’re diving into how to achieve that perfect, glass-like sheen and satisfying snap that truly defines a phenomenal batch of homemade Candy Apples.
Ingredients:
- 6 medium apples (Granny Smith or Honeycrisp are excellent choices for their tartness and firm texture).
- 6 sturdy wooden sticks (like popsicle sticks or lollipop sticks) for holding your candy apples.
- 2 cups granulated sugar.
- ½ cup light corn syrup.
- ½ cup water.
- ¼ teaspoon cream of tartar (this helps prevent sugar crystallization, ensuring a smooth candy coating).
- 1 teaspoon vanilla extract for a classic sweet flavor.
- Pink and blue food coloring gel (or your preferred cotton candy-inspired colors). Gel coloring provides vibrant hues without adding excess liquid.
- Cotton candy-flavored extract (optional, for an extra burst of flavor reminiscent of the fairground treat).
- Edible glitter or sprinkles (optional, for a festive and sparkly finish).
Preparing Your Candy Apples
Step 1: Apple and Stick Preparation
Begin extract by washing your apples thoroughly under cool running water. It’s crucial to remove any wax coating the apples might have from the store, as this can prevent the candy coating from adhering properly. You can use a vegetable brush to gently scrub them. Pat them completely dry with paper towels. Now, it’s time to insert the sticks. Firmly push a wooden stick into the stem end of each apple. Twist it slightly as you push to ensure it’s secure and goes about halfway through the apple. You don’t want the stick to come out the bottom, but it needs to be deeply embedded enough to hold the weight of the candy coating and for you to comfortably hold the apple. Set the prepared apples aside on a parchment-lined baking sheet. This parchment paper will prevent the candy apples from sticking once they’re coated.
Step 2: Crafting the Candy Coating Base
In a medium-sized, heavy-bottomed saucepan, combine the granulated sugar, light corn syrup, water, and cream of tartar. The heavy-bottomed pot is important for even heat distribution, which helps prevent scorching. Stir these ingredients together over medium heat until the sugar has completely dissolved. It’s essential to stir until you no longer see any sugar crystals at the bottom of the pan. Once the sugar is dissolved, stop stirring. Bring the mixture to a boil. You can insert a candy thermometer at this point, clipping it to the side of the pan so it doesn’t touch the bottom. You’re aiming for a temperature of 300-310°F (150-155°C), which is the hard-crack stage. This temperature is vital for achieving that satisfying, brittle candy shell.
Step 3: Achieving the Perfect Candy Consistency and Color
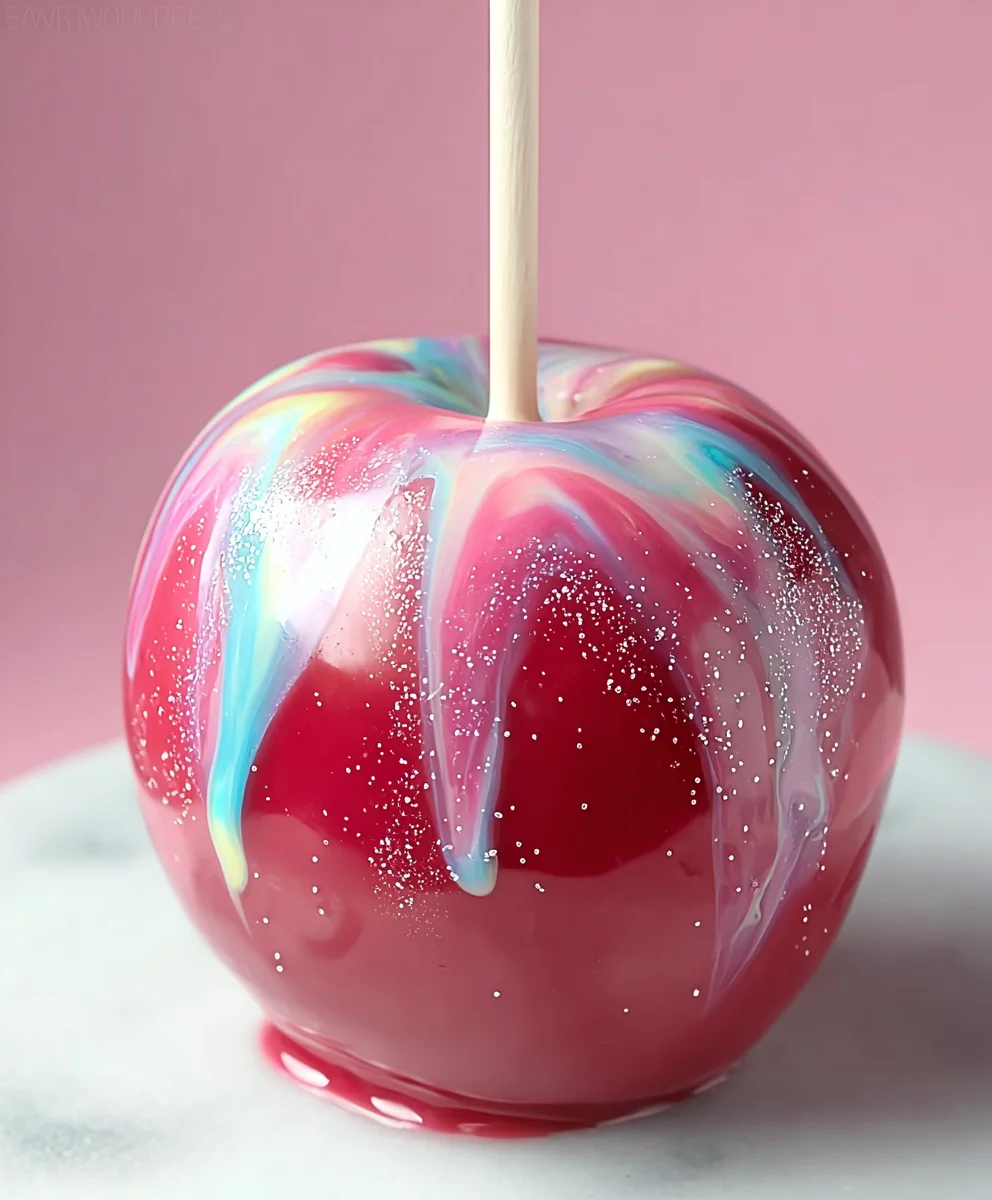
As the sugar syrup heats, keep a close eye on the candy thermometer. If you don’t have one, you can test the candy by carefully dropping a small amount into a glass of ice-cold water. If it forms hard, brittle threads, it’s ready. Once the syrup reaches the target temperature, immediately remove the saucepan from the heat. Carefully stir in the vanilla extract. If you’re using the optional cotton candy-flavored extract, add it now as well. This is also the time to add your food coloring. Add a few drops of pink gel coloring and gently swirl it into the mixture. Don’t overmix; you want to create beautiful, swirling patterns. If you want a more marbled effect, you can add a bit of blue gel coloring after the pink and swirl it in just a touch. The heat from the syrup will continue to blend the colors. Work quickly, as the candy will start to set as it cools.
Step 4: Coating the Apples
This is the fun and slightly tricky part! Holding an apple by its stick, tilt the saucepan and carefully dip and swirl the apple into the hot candy mixture. Rotate the apple, allowing the hot syrup to coat its surface evenly. You want a good, consistent layer of candy. Don’t try to dip too deep, or the apple might start to detach from the stick. Aim to coat about two-thirds to three-quarters of the apple. Once coated, lift the apple out of the syrup and let any excess drip back into the pan. You can gently twirl the apple to help distribute the candy and create a smooth finish. Be very careful, as the candy is extremely hot and can cause severe burns. Place the coated apple back onto the parchment-lined baking sheet.
Step 5: Adding the Finishing Touches and Setting
Immediately after coating each apple, while the candy is still wet and pliable, you can add your optional edible glitter or sprinkles. Gently sprinkle them over the surface, pressing them lightly into the candy to help them adhere. This is your chance to get creative with your decorative designs! Allow the candy apples to sit undisturbed on the parchment paper for at least 15-20 minutes, or until the candy coating has completely hardened. This hardening process is crucial for that signature crisp candy apple texture. Once fully set, you can carefully peel them off the parchment paper. For the best texture and flavor, candy apples are best enjoyed within a day or two of making them. Store them at room temperature, not in the refrigerator, as the condensation can make the candy sticky.
Conclusion:
And there you have it! Crafting perfect, glistening Candy Apples is a truly rewarding experience, transforming simple fruit into a delightful, nostalgic treat. We’ve walked through each step, from selecting the best apples to achieving that flawless, crackly candy coating. Remember, patience is key, especially when it comes to the temperature of your candy mixture. Once cooled, your homemade Candy Apples are ready to be devoured. They make a fantastic centerpiece for parties, a fun activity for the kids, or simply a sweet indulgence for yourself. Don’t be afraid to get creative with toppings like sprinkles, chopped nuts, or even drizzles of white chocolate once the candy shell has set!
Frequently Asked Questions:
Why are my Candy Apples not hardening properly?
This is usually due to the sugar syrup not reaching the correct temperature. For a hard crack stage, the syrup needs to reach between 300-310°F (150-155°C). If it’s too cool, the candy will be sticky. Ensure you are using a candy thermometer for accuracy.
Can I make Candy Apples without a candy thermometer?
While a candy thermometer is highly recommended for consistent results, you can attempt the “cold water test.” Drop a small amount of syrup into a bowl of ice water. If it forms hard, brittle threads that break easily, it’s ready. However, this method is less precise and can lead to variations in texture.
What kind of apples are best for Candy Apples?
Firm, tart apples with a good balance of sweetness are ideal. Varieties like Granny Smith, Honeycrisp, Fuji, or Gala work wonderfully. Their firmness helps them withstand the hot candy coating without becoming mushy, and their tartness provides a lovely contrast to the sweet candy.
Easy Candy Apples Recipe-Sweet Treat Fun
A simple and fun recipe for making classic candy apples with a cotton candy twist. Perfect for parties and a delightful treat for all ages.
Ingredients
-
6 medium apples (Granny Smith or Honeycrisp)
-
6 wooden sticks
-
2 cups granulated sugar
-
½ cup light corn syrup
-
½ cup water
-
¼ teaspoon cream of tartar
-
1 teaspoon vanilla extract
-
Pink and blue food coloring gel
-
Cotton candy-flavored extract (optional)
-
Edible glitter or sprinkles (optional)
Instructions
-
Step 1
Wash apples thoroughly and remove wax. Pat dry. Firmly insert wooden sticks into the stem end of each apple, about halfway through. Place prepared apples on a parchment-lined baking sheet. -
Step 2
In a heavy-bottomed saucepan, combine sugar, corn syrup, water, and cream of tartar. Stir over medium heat until sugar dissolves completely. Stop stirring and bring to a boil until it reaches 300-310°F (150-155°C) on a candy thermometer. -
Step 3
Remove from heat. Stir in vanilla extract and optional cotton candy extract. Add pink gel coloring and gently swirl. Add blue gel coloring for a marbled effect, swirling minimally. Work quickly. -
Step 4
Holding an apple by its stick, tilt the saucepan and dip and swirl the apple into the hot candy mixture, rotating to coat evenly about two-thirds to three-quarters of the apple. Let excess drip back into the pan. -
Step 5
Place coated apple back on the parchment-lined baking sheet. While candy is still wet, add optional edible glitter or sprinkles. Allow to set undisturbed for 15-20 minutes until hardened.
Important Information
Nutrition Facts (Per Serving)
It is important to consider this information as approximate and not to use it as definitive health advice.
Allergy Information
Please check ingredients for potential allergens and consult a health professional if in doubt.