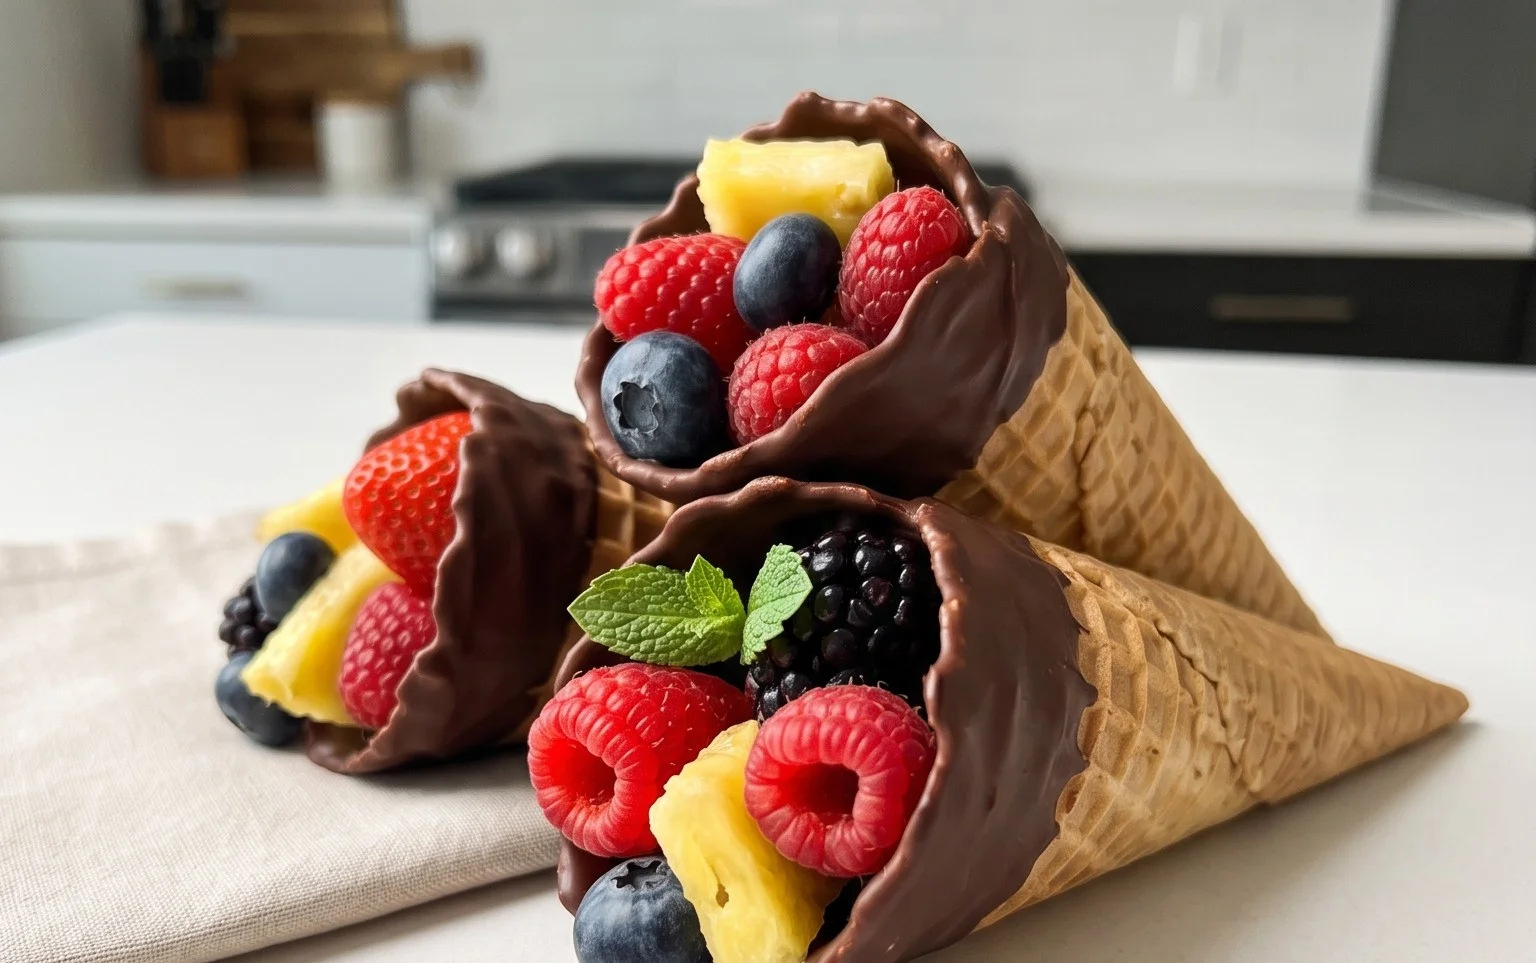
Chocolate Dipped Fruit Cones – Delicious Easy Treat
Chocolate dipped fruit filled cones are more than just a sweet treat; they’re a delightful explosion of textures and flavors that instantly transport you to a state of pure joy. Imagin extracte the satisfying crunch of a perfectly baked cone, giving way to a luscious, creamy filling bursting with the vibrant sweetness of fresh fruit. Then, there’s the decadent, smooth embrace of rich chocolate, adding a layer of pure indulgence that makes these chocolate dipped fruit filled cones truly irresistible. It’s this harmonious symphony of contrasting elements – the crisp cone, the tender fruit, the luscious chocolate – that makes them so universally loved. Whether you’re looking for a show-stopping dessert for a special occasion or a simple way to brighten your afternoon, these delightful creations are guaranteed to impress and satisfy.
Why You’ll Adore These Chocolate Dipped Fruit Filled Cones:
A Perfect Blend of Sweet and Tart
The natural sweetness of the fruit, perfectly complemented by the rich chocolate, creates a balanced flavor profile that’s never overwhelming. Each bite offers a delightful dance between sweet and slightly tart, keeping your taste buds thoroughly engaged.
Endless Customization Options
One of the most exciting aspects of making chocolate dipped fruit filled cones is the sheer versatility. You can experiment with different fruits, fillings like cream cheese or whipped cream, and various types of chocolate – from dark and bittersweet to creamy milk or even white chocolate.
Visually Stunning and Fun to Eat
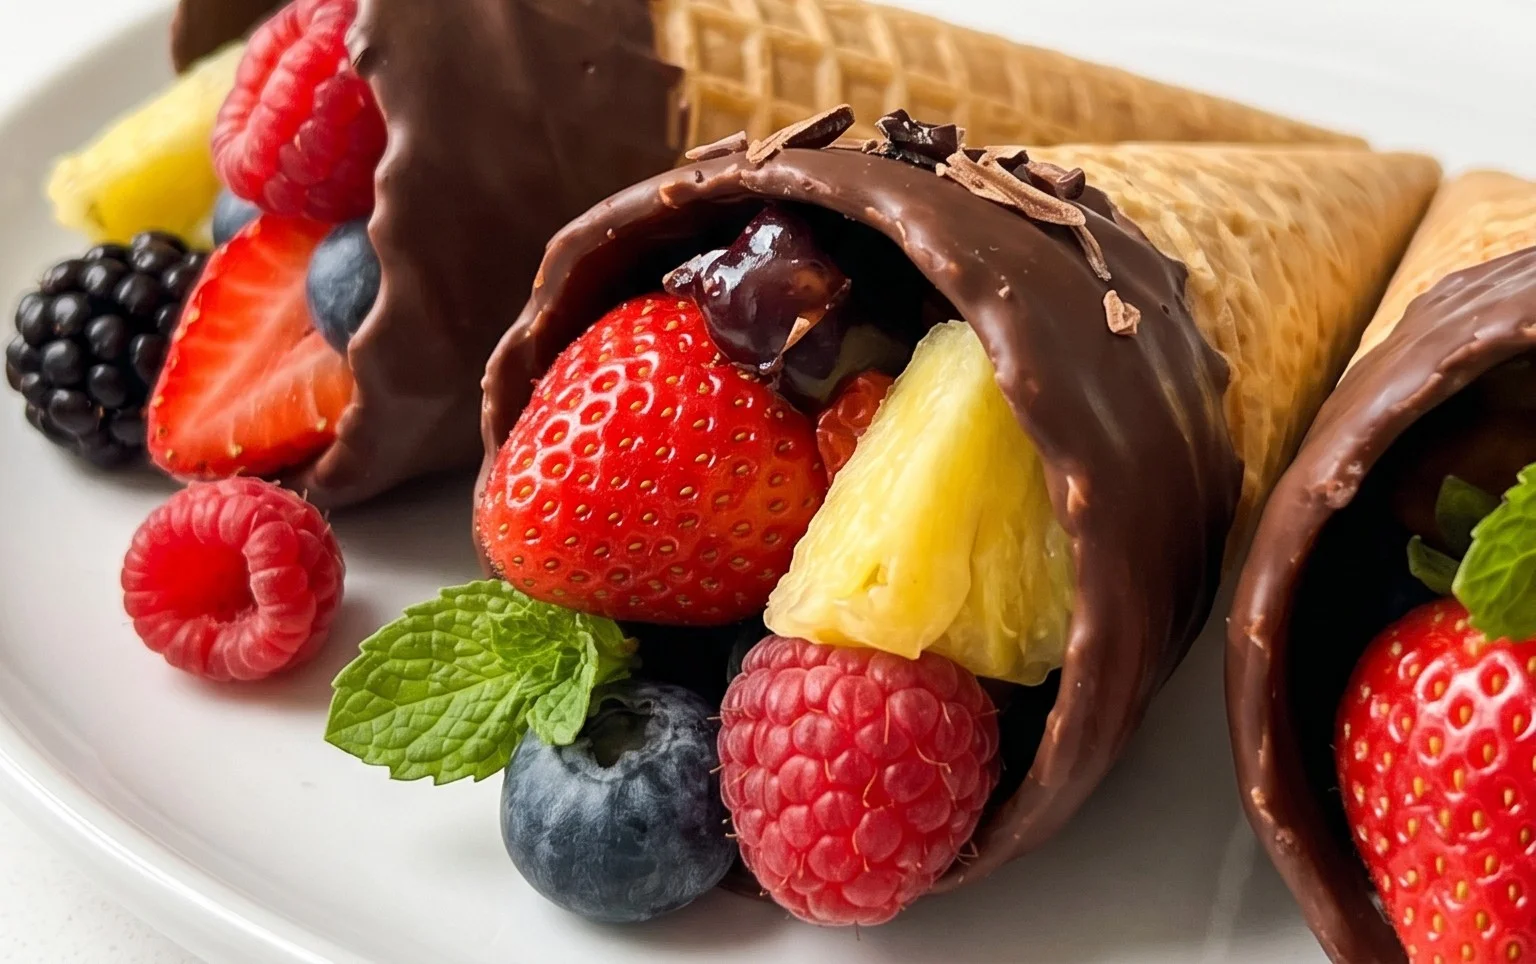
Let’s be honest, these treats are as beautiful as they are delicious! The vibrant colors of the fruit peeking out from the rich chocolate coating, all nestled within a whimsical cone, make them a joy to behold and even more fun to devour.
Chocolate Dipped Fruit Filled Cones
Imagin extracte a delightful explosion of flavors and textures – a crisp, sweet cone cradling a burst of fresh fruit, all enrobed in a rich, decadent chocolate shell. That’s exactly what we’re creating today with these Chocolate Dipped Fruit Filled Cones. They are the perfect blend of refreshing fruit, crunchy cone, and indulgent chocolate, making them an irresistible treat for any occasion. Whether you’re looking for a fun dessert to make with kids, a unique party favor, or simply a way to elevate your afternoon snack, these cones are sure to impress. The beauty of this recipe lies in its simplicity and the endless possibilities for customization. We’ll guide you through each step, ensuring you achieve a beautiful and delicious result that looks as good as it tastes.
Ingredients:
Getting Started: Preparing Your Fruit
The first step to creating these fantastic cones is to get our fruit ready. This is where we add a pop of freshness and natural sweetness. In a small bowl, combine your diced strawberries, mashed raspberries, and blueberries. If your fruit isn’t particularly sweet, or you prefer a little extra sweetness, you can gently toss them with the tablespoon of granulated sugar. However, remember that the chocolate and the cone will already contribute sweetness, so taste your fruit first before adding sugar. We want a balanced flavor profile, not an overly sweet one. Gently mix the fruit to distribute the sugar if you’ve added it, and then set it aside. It’s best to use fresh fruit for the best flavor and texture. Avoid using overly mushy fruit, as it can make the filling too wet.
The Luscious Chocolate Shell
Now, let’s talk about the star of the show – the chocolate! We’ll be creating a beautiful, glossy chocolate coating that will hold everything together. Finely chop your chocolate. The smaller the pieces, the faster and more evenly they will melt. Place the chopped chocolate in a heatproof bowl.
Next, we’ll gently heat the heavy cream. You can do this in a small saucepan over medium-low heat until it just begin extracts to simmer around the edges. Alternatively, you can heat it in the microwave in 30-second intervals, stirring in between, until hot but not boiling. Pour the hot cream over the chopped chocolate. Let it sit for about 5 minutes without stirring. This allows the residual heat from the cream to begin extract melting the chocolate.
After the resting period, it’s time to stir. Using a whisk or a rubber spatula, begin extract stirring the chocolate and cream mixture from the center outwards. Continue stirring gently until the chocolate is completely melted and the ganache is smooth, glossy, and well-combined. If there are a few stubborn bits of chocolate, you can gently place the bowl over a pot of barely simmering water (a double boiler) and stir until fully melted. Be careful not to let any water get into the chocolate, as this can cause it to seize. Once smooth, stir in the tablespoon of softened unsalted butter. The butter adds a lovely sheen and a touch more richness to the chocolate coating.
Assembling Your Delicious Cones
This is where the magic really happens! We’re going to assemble our cones with the fruit and then dip them in our beautiful chocolate. Lay out your parchment paper on a clean surface. This will be your drying station.
Take a sugar cone or waffle cone and carefully spoon about 1-2 tablespoons of the prepared fruit mixture into the bottom of the cone. You want to fill it enough to create a nice fruit layer, but not so much that it becomes difficult to dip or overflows. Press the fruit down gently with the back of your spoon to compact it slightly. You can even add a second small layer if you have room.
Once the fruit is nestled inside, it’s time for the chocolate dip. Hold the cone by the tip and carefully dip the open end into the melted chocolate ganache. You want to aim for about two-thirds of the way up the cone. Gently rotate the cone to ensure an even coating. Let any excess chocolate drip back into the bowl for a few seconds.
Carefully place the chocolate-dipped cone onto the parchment paper, standing it upright. Repeat this process with the remaining cones, working relatively quickly as the chocolate will start to set. If your chocolate ganache begin extracts to thicken too much, you can gently rewarm it for a few seconds in the microwave or over the double boiler.
Setting and Enjoying
Once all your cones are dipped and arranged on the parchment paper, it’s time for them to set. This is the hardest part – waiting! Let the cones sit at room temperature until the chocolate is completely firm. This usually takes about 1-2 hours. If you’re in a hurry, or if your kitchen is warm, you can speed up the process by placing the cones in the refrigerator for about 30-45 minutes. However, be aware that refrigerating chocolate can sometimes cause it to develop a slightly duller finish.
Once the chocolate is set and firm to the touch, your Chocolate Dipped Fruit Filled Cones are ready to be devoured! These are best enjoyed fresh, but they can be stored in an airtight container at room temperature for a day or two. If you’re storing them, it’s a good idea to place a piece of parchment paper between each cone to prevent them from sticking. I love to serve these as a special treat after dinner, or even as a fun and colorful addition to a dessert table. The combination of the crisp cone, the juicy fruit, and the rich chocolate is truly delightful. Don’t be afraid to experiment with different fruits like chopped peaches, kiwi, or even a little bit of banana. The possibilities are as endless as your imagin extractation! Enjoy every delicious bite!
Conclusion:
So there you have it – a delightful and surprisingly simple recipe for Chocolate Dipped Fruit Filled Cones that are guaranteed to impress! These treats are a fantastic fusion of crispy, sweet cones, luscious fruit filling, and rich, decadent chocolate. They’re perfect for birthdays, holidays, or just when you need a special pick-me-up. The beauty of this recipe lies in its versatility. You can easily customize the fruit filling to your heart’s content, using seasonal berries, tropical fruits, or even a creamy custard. And the chocolate dip? Milk, dark, or white – the choice is yours! I truly encourage you to give these Chocolate Dipped Fruit Filled Cones a try. They’re a wonderful way to bring a smile to your face and to share with loved ones. Get creative, have fun in the kitchen, and enjoy every delicious bite!
Frequently Asked Questions:
How do I store Chocolate Dipped Fruit Filled Cones?
For the best texture, it’s recommended to store these cones in an airtight container in the refrigerator for up to 2-3 days. The fruit filling can make the cone slightly soft over time, so they are best enjoyed relatively soon after making.
Can I make the fruit filling ahead of time?
Absolutely! You can prepare your fruit filling a day in advance and store it in the refrigerator. This will save you time on the day you assemble your cones. Just ensure it’s well-chilled before filling the cones.
What other fruit fillings work well?
The possibilities are nearly endless! Consider a quick strawberry or raspberry compote, a mixture of diced mango and pineapple, or even a spiced apple filling for a fall twist. A simple vanilla pudding or a light cheesecake filling would also be delicious. Just be mindful of moisture content; thicker fillings are generally better.
Chocolate Dipped Fruit Filled Cones
A delightful dessert featuring crisp cones filled with fresh fruit and coated in rich chocolate.
Ingredients
-
1 cup (6 ounces) fresh berries
-
1/2 cup chopped ripe strawberries
-
1/4 cup chopped kiwi
-
1/4 cup chopped mango
-
1 cup semisweet chocolate chips
-
1 tablespoon coconut oil
-
8 sugar cones
Instructions
-
Step 1
Wash and prepare all fresh fruit. Chop strawberries, kiwi, and mango into bite-sized pieces. Combine with fresh berries in a medium bowl. -
Step 2
In a microwave-safe bowl, combine the semisweet chocolate chips and coconut oil. -
Step 3
Microwave on high for 30-second intervals, stirring after each, until the chocolate is melted and smooth. -
Step 4
Spoon a portion of the prepared fruit mixture into the bottom of each sugar cone. -
Step 5
Dip the top of each filled cone into the melted chocolate, allowing excess chocolate to drip off. -
Step 6
Place the dipped cones on a baking sheet lined with parchment paper. -
Step 7
Refrigerate for at least 10 minutes, or until the chocolate has set.
Important Information
Nutrition Facts (Per Serving)
It is important to consider this information as approximate and not to use it as definitive health advice.
Allergy Information
Please check ingredients for potential allergens and consult a health professional if in doubt.