Classic Italian Tiramisu Recipe- Best Homemade Dessert
BEST Classic Italian Tiramisu Recipe: Ah, Tiramisu. Just the name conjures images of creamy mascarpone, bitter espresso, and delicate ladyfingers dusted with cocoa. It’s more than just a dessert; it’s an experience, a comforting hug in a bowl, and a taste of pure Italian indulgence. Why do we all fall so head-over-heels for this iconic sweet treat? It’s the perfect balance of textures and flavors – the slight bitterness of the coffee cutting through the rich, velvety cream, the gentle crunch of the ladyfingers giving way to a soft, melt-in-your-mouth sensation. This BEST Classic Italian Tiramisu Recipe is all about capturing that authentic magic, the very essence of what makes Tiramisu so universally loved. It’s deceptively simple, yet utterly sublime, a testament to the power of quality ingredients and a little bit of love.
What makes this recipe special?
It’s all about the authentic, unadulterated flavor that brings you straight to the heart of Italy.
The BEST Classic Italian Tiramisu Recipe
Tiramisu. The very name conjures images of creamy, coffee-kissed indulgence. For years, I’ve experimented with countless variations, seeking that perfect balance of rich mascarpone, bitter coffee, and sweet, delicate ladyfingers. Today, I’m thrilled to share what I believe is the quintessential Classic Italian Tiramisu recipe – a recipe that delivers that authentic, melt-in-your-mouth experience with every single bite. This isn’t just a dessert; it’s an experience, a journey to the heart of Italian culinary tradition.
The beauty of a classic tiramisu lies in its simplicity, yet achieving that perfect harmony of flavors and textures requires attention to detail. We’re going to focus on using high-quality ingredients and employing a few key techniques to elevate this beloved dessert from good to absolutely unforgettable. Forget the shortcuts and the less authentic versions; this recipe is about celebrating the true essence of tiramisu.
Ingredients:
Preparing Your Tiramisu Masterpiece
This recipe is broken down into manageable steps, ensuring you can create a truly exceptional tiramisu with confidence. Don’t be intimidated by the raw egg yolks; we’ll be gently heating them to ensure safety and create an incredibly silky smooth cream.
Step 1: Crafting the Zabaglione Base
The foundation of our tiramisu is a rich, velvety zabaglione. In a heatproof bowl set over a saucepan of gently simmering water (a double boiler), whisk together the 4 egg yolks and 2/3 cup of granulated or caster sugar. The key here is gentle, continuous whisking. You’re not looking to scramble the eggs; rather, you want to temper them with the sugar and the heat. Keep whisking until the mixture thickens, turns pnon-alcoholic ale yellow, and reaches a temperature of around 160°F (71°C) on an instant-read thermometer. This process not only ensures food safety but also creates a stable, luxuriously smooth base for our cream. Once it reaches the desired consistency and temperature, remove the bowl from the heat and continue to whisk for another minute or two to help it cool slightly. Stir in the vanilla extract and the 1/4 teaspoon of salt. The salt, though seemingly small, plays a crucial role in enhancing all the other flavors.
Step 2: Incorporating the Mascarpone
Now for the star of the show: the mascarpone cheese. Ensure your mascarpone is very cold, as this helps it emulsify beautifully with the zabaglione and prevents it from becoming too runny. Add the cold mascarpone cheese to the slightly cooled zabaglione mixture. Using a spatula or a whisk on the lowest speed of your electric mixer, gently fold or mix until the mascarpone is just incorporated. Be careful not to overmix at this stage, as overmixing can make the mascarpone break down and become watery. You want a smooth, homogenous, and incredibly creamy mixture. The texture should be thick and luxurious.
Step 3: Whipping the Cream (or Egg Whites)
This step is where we introduce air and lightness to our tiramisu cream. If you’re using heavy cream (my preferred method for its richness and stability), pour 1 1/2 cups of chilled heavy cream into a separate, clean bowl. Using an electric mixer with the whisk attachment, whip the cream on medium-high speed until stiff peaks form. Stiff peaks mean that when you lift the whisk, the cream holds its shape and the peaks stand straight up without curling over. If you’re opting for the egg white version, in a separate, impeccably clean bowl, whip the 4 egg whites until soft peaks form. Gradually add the divided 1/3 cup of sugar, continuing to whip until stiff, glossy peaks form. Be absolutely sure there is no yolk in your egg whites, or they won’t whip properly.
Step 4: Folding for the Perfect Consistency
This is a critical step for achieving that airy, cloud-like texture. Gently fold about one-third of your whipped cream (or whipped egg whites) into the mascarpone and zabaglione mixture. Use a large spatula and a gentle, lifting motion, cutting down through the center and folding the mixture over itself. This lightens the mascarpone base. Once mostly incorporated, carefully fold in the remaining whipped cream (or egg whites) in two more additions until just combined. The goal is to maintain as much air as possible, resulting in a light and airy cream that’s perfect for layering. The final consistency should be like a very thick, smooth mousse.
Step 5: Assembling Your Tiramisu
Now for the assembly, the part where our dessert truly takes shape. Have your 1 1/2 cups of strong black coffee (cooled to room temperature) ready in a shallow dish. Quickly dip each ladyfinger into the coffee, ensuring they are moistened but not saturated. If they soak for too long, they will become mushy and fall apart. Arrange a single layer of these coffee-dipped ladyfingers in the bottom of your serving dish (an 8×8 inch or similar sized dish works well). Once the bottom is covered, spoon half of the mascarpone cream mixture over the ladyfingers, spreading it evenly. Repeat with another layer of coffee-dipped ladyfingers, followed by the remaining mascarpone cream. Gently smooth the top layer of cream with your spatula.
Step 6: Chilling for Flavor Fusion
This is perhaps the most important, and often the most challengin extractg, step for impatient bakers: patience! Cover the tiramisu tightly with plastic wrap, ensuring it touches the surface of the cream to prevent a skin from forming. Refrigerate for at least 6 hours, but ideally overnight. This chilling time is crucial for the flavors to meld and deepen, and for the ladyfingers to soften and absorb the creamy goodness.
Step 7: The Final Flourish
Just before serving, dust the top of your tiramisu generously with 2 tablespoons of cocoa powder using a fine-mesh sieve. This creates that iconic, slightly bitter contrast that perfectly complements the sweet, creamy layers beneath. Slice and serve, and prepare for the delighted murmurs of your guests as they savor every spoonful of this authentic Italian classic. Enjoy!
Conclusion:
There you have it – my absolute favorite, the BEST Classic Italian Tiramisu Recipe! What makes this recipe truly shine is its perfect balance of rich mascarpone cream, robust espresso-soaked ladyfingers, and a delicate dusting of cocoa. It’s a dessert that feels both elegant and comforting, a true crowd-pleaser that never fails to impress. The simplicity of the ingredients, when combined with proper technique, yields an extraordinary flavor and texture that’s pure Italian bliss. I truly believe anyone can master this classic. Don’t be intimidated by its reputation; it’s surprisingly straightforward and incredibly rewarding to make.
For serving, this tiramisu is divine on its own, chilled for at least 4 hours (overnight is even better!) to allow the flavors to meld beautifully. You can also elevate it with a sprig of fresh mint or a few fresh berries on the side. Feeling adventurous? Try a splash of Marsala grape juice or rum extract in your espresso for an extra kick, or add a layer of finely chopped dark chocolate between the ladyfingers and the cream. I encourage you to give this recipe a try; the joy of creating and sharing this beloved Italian dessert is immense. I’m confident it will become a staple in your dessert repertoire!
Frequently Asked Questions:
Can I make this tiramisu ahead of time?
Absolutely! In fact, making tiramisu ahead of time is highly recommended. Chilling it for at least 4 hours, or ideally overnight, allows the ladyfingers to soften perfectly and the flavors to meld together beautifully, resulting in a richer, more cohesive dessert. Just be sure to add the final cocoa dusting right before serving to prevent it from becoming soggy.
What kind of coffee is best for this recipe?
For an authentic and robust flavor, strong brewed coffee or espresso is ideal. The coffee is a key component, so using a good quality brew will make a significant difference in the final taste of your tiramisu. Ensure it’s cooled before dipping your ladyfingers.
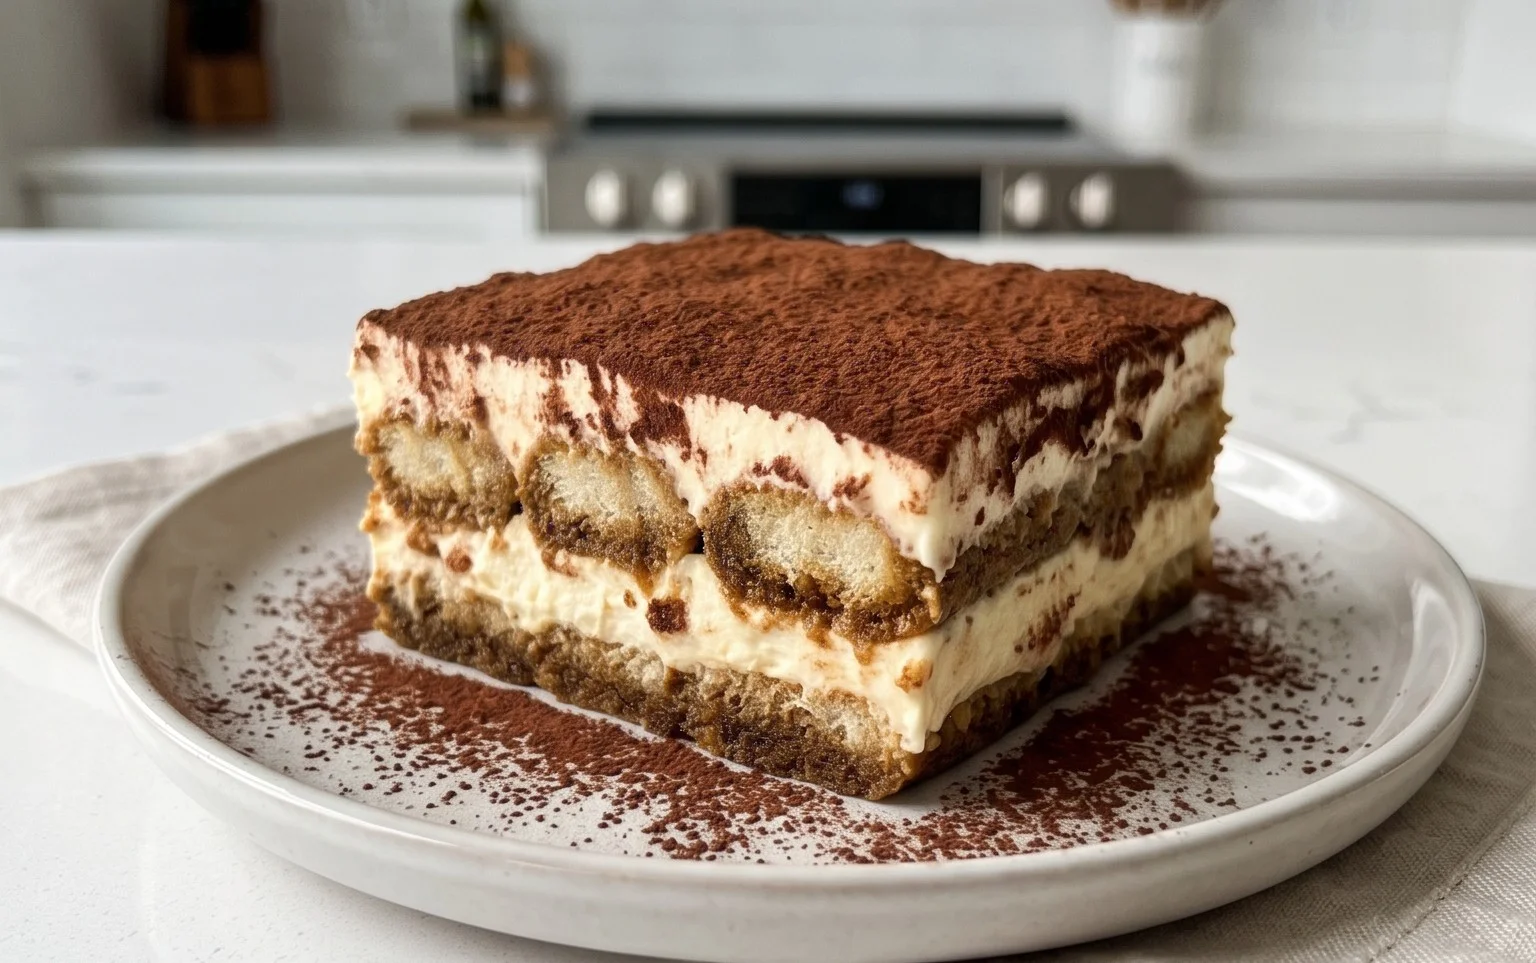
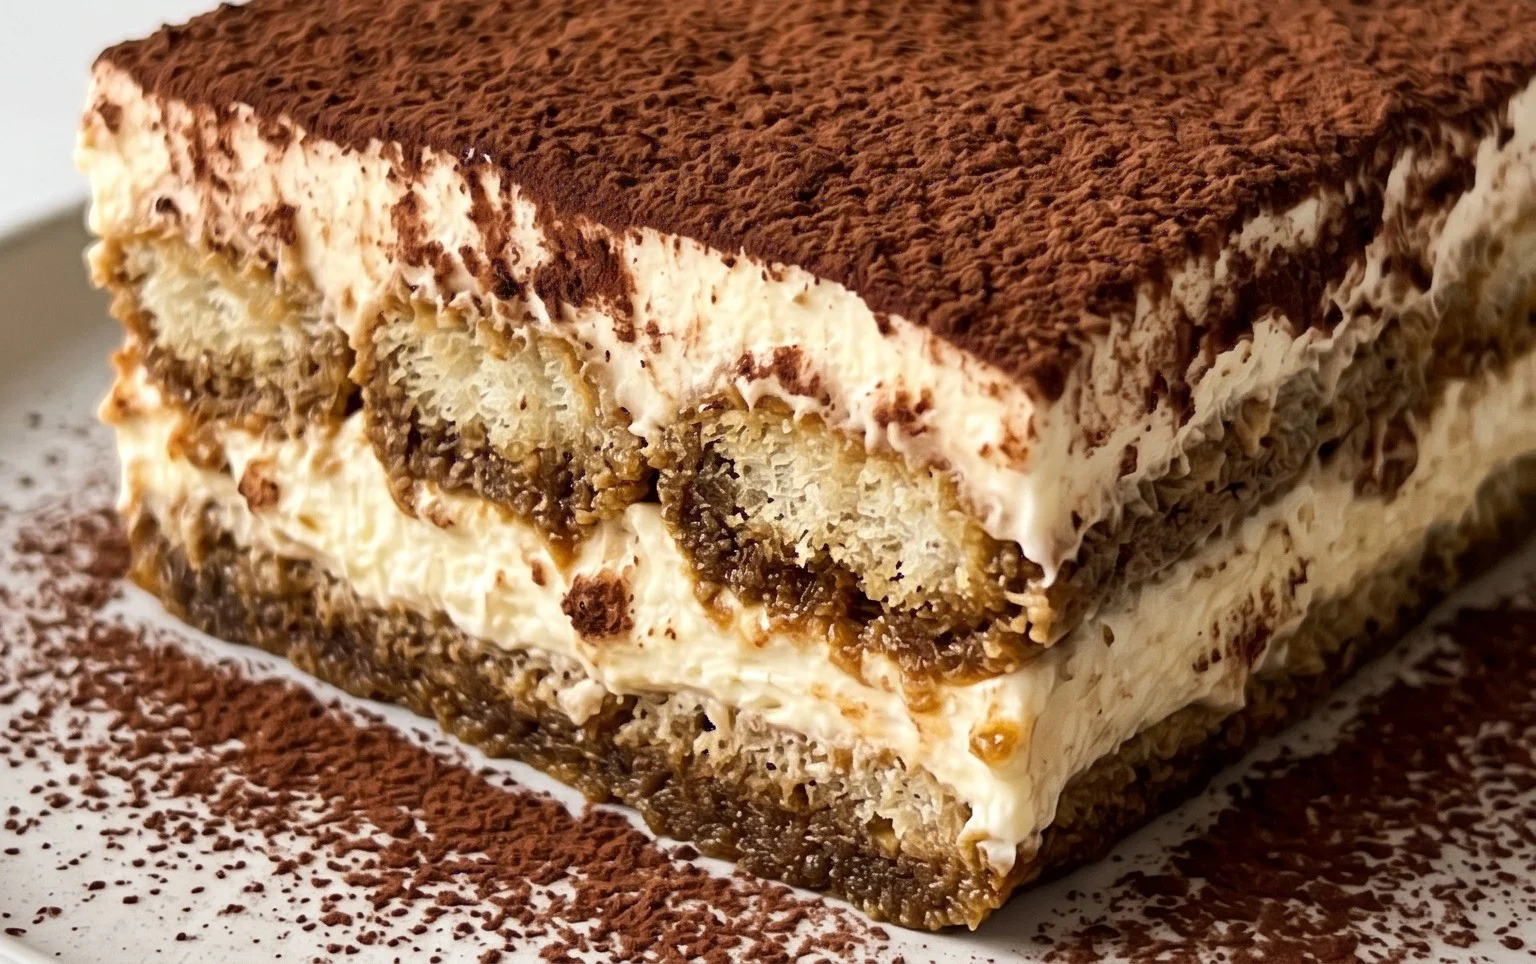
BEST Classic Italian Tiramisu Recipe
A classic and authentic Italian Tiramisu recipe, featuring layers of coffee-soaked ladyfingers and a creamy mascarpone mixture. This recipe is perfect for any occasion and is sure to impress.
Ingredients
-
16 oz Mascarpone cheese, cold from the fridge
-
4 egg yolks
-
2/3 cup granulated sugar
-
1 tsp vanilla extract
-
1/4 tsp salt
-
1 1/2 cup heavy cream, chilled
-
30-36 ladyfingers
-
1 1/2 cup strong black coffee, room temperature
-
2 tbsp cocoa powder to dust
Instructions
-
Step 1
In a medium bowl, whisk together the egg yolks and 2/3 cup granulated sugar until pale yellow and slightly thickened. -
Step 2
Add the vanilla extract and salt to the egg yolk mixture and whisk to combine. -
Step 3
In a separate bowl, whip the chilled heavy cream until stiff peaks form. -
Step 4
Gently fold the whipped cream into the mascarpone cheese until just combined and smooth. Be careful not to overmix. -
Step 5
Quickly dip each ladyfinger into the room temperature coffee, ensuring they are moistened but not soggy. Arrange a single layer of coffee-dipped ladyfingers in the bottom of your serving dish. -
Step 6
Spread half of the mascarpone cream mixture evenly over the ladyfinger layer. -
Step 7
Repeat with another layer of coffee-dipped ladyfingers, followed by the remaining mascarpone cream mixture. -
Step 8
Cover the dish and refrigerate for at least 4 hours, or preferably overnight, to allow the flavors to meld and the tiramisu to set. -
Step 9
Before serving, dust the top generously with cocoa powder.
Important Information
Nutrition Facts (Per Serving)
It is important to consider this information as approximate and not to use it as definitive health advice.
Allergy Information
Please check ingredients for potential allergens and consult a health professional if in doubt.