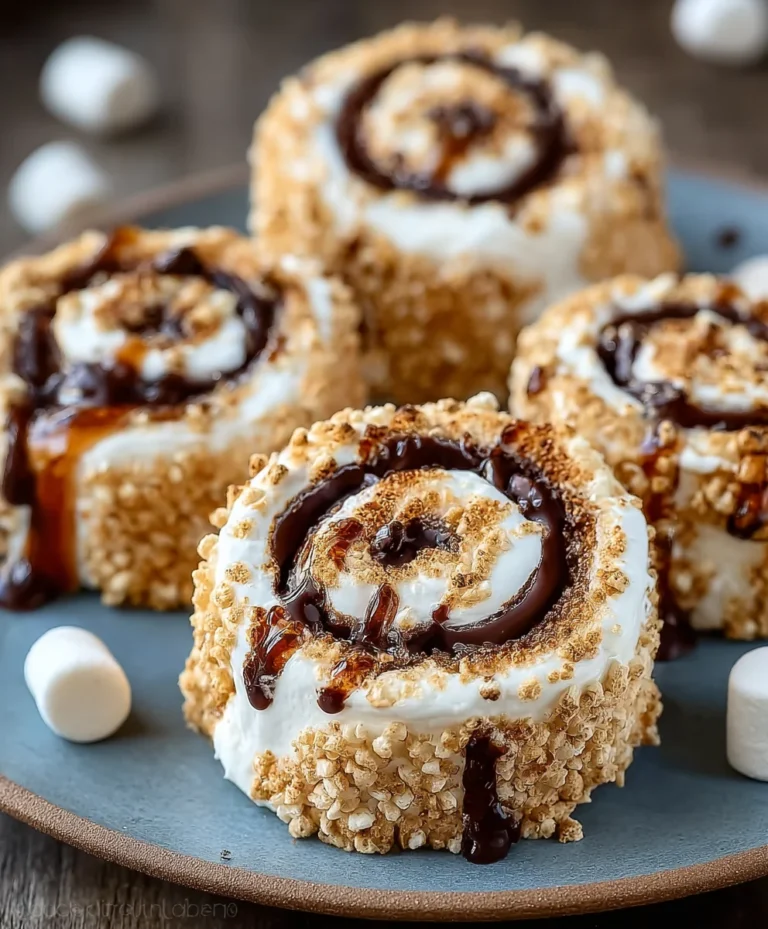
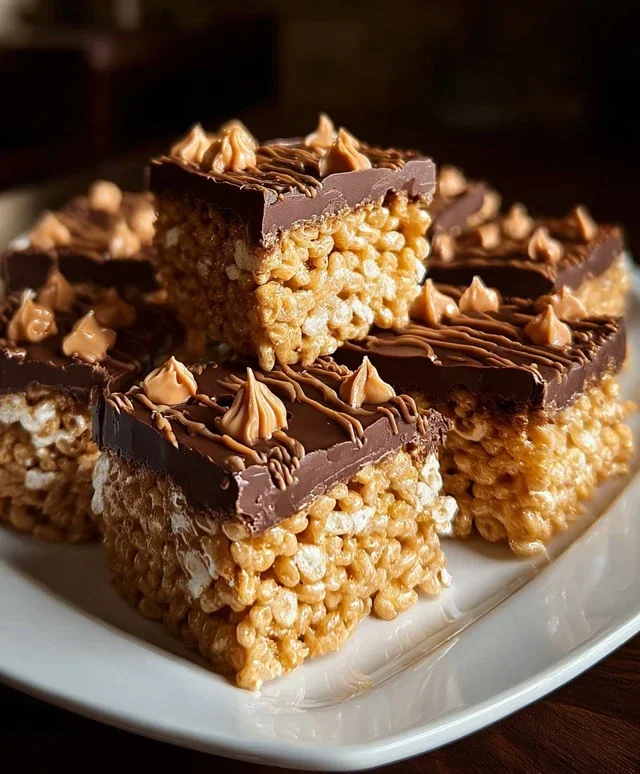
Chocolate Peanut Butter Rice Krispie Squares Recipe
Chocolate Peanut Butter Rice Krispie Squares are quite possibly the ultimate no-bake dessert. I mean, who can resist that irresistible combination of crispy, chewy, chocolatey, and peanut buttery goodness? It’s a nostalgic treat that instantly transports me back to childhood, but with a sophisticated twist that adult palates will adore. These aren’t your average Rice Krispie treats; they’re an elevated experience. The magic lies in the perfect balance – the creamy, salty richness of peanut butter cutting through the sweet, dark chocolate, all held together by that signature airy crunch. They’re incredibly easy to whip up, making them a go-to for last-minute cravings, potlucks, or just because. Get ready to discover your new favorite indulgence with these amazing Chocolate Peanut Butter Rice Krispie Squares.
Ingredients:
Get ready to embark on a flavor journey that’s as nostalgic as it is delicious! These Chocolate Peanut Butter Rice Krispie Squares are an absolute game-changer, taking the classic treat we all know and love to a whole new level of indulgence. Imagin extracte that satisfying crunch of Rice Krispies, the creamy, salty goodness of peanut butter, all brought together with the irresistible sweetness of melted marshmallows and a rich chocolatey swirl. It’s the perfect combination of textures and tastes, making them an instant hit for snack time, dessert, or even a special treat for lunchboxes.
What I love about this recipe is how incredibly easy it is to whip up. You don’t need any fancy equipment or complicated techniques. It’s the kind of recipe you can make with kids, and they’ll have a blast helping out. The best part? They come together super quickly, meaning you can satisfy those sweet cravings in no time at all. Whether you’re a seasoned baker or a complete begin extractner, you can absolutely nail these. And the customization options are endless! Feel free to use your favorite type of peanut butter – creamy for a smooth finish, or crunchy for an extra bit of texture. The milk chocolate chips add a lovely sweetness, but if you’re a dark chocolate fan, feel free to swap them out!
Let’s Get Cooking!
Now, let’s dive into the fun part – making these delightful squares.
1. First things first, let’s prepare our pan. You’ll want to grab a 9×13 inch baking pan. Lightly grease it with butter or cooking spray, or even better, line it with parchment paper. If you use parchment paper, leave a little overhang on the sides. This will make it super easy to lift the entire slab out of the pan once it’s set, and it also makes cleanup a breeze. Trust me, dealing with sticky marshmallow mixtures is much easier when you have a barrier!
2. In a large saucepan, we’re going to melt our butter. Place the ¼ cup of unsalted butter into the pan over low heat. We want to melt it slowly and gently, stirring occasionally. We’re not looking to brown it, just get it nice and liquid. Once the butter is completely melted and clear, it’s time to add our marshmallows.
3. Now, add the marshmallows to the melted butter in the saucepan. Continue to stir constantly over low heat until the marshmallows are completely melted and smooth. This is where patience is key! Keep stirring to prevent the marshmallows from sticking to the bottom of the pan and burning. If you’re using regular-sized marshmallows, it might take a little longer for them to melt down completely. Mini marshmallows tend to melt a bit faster. The mixture should become a wonderfully gooey, sticky, and fragrant mass. Once it’s smooth and uniform, remove the saucepan from the heat.
4. Immediately after removing the pan from the heat, stir in the ½ cup of peanut butter. Mix it in until it’s completely incorporated into the melted marshmallow mixture. The peanut butter will melt and swirl into the goo, creating that signature chocolate and peanut butter magic. Keep stirring until you have a smooth, homogenous mixture. The warmth of the marshmallow will help the peanut butter blend in seamlessly. This step is crucial for ensuring that peanut butter flavor is evenly distributed throughout your squares.
5. Now it’s time for the Rice Krispies! Add the 6 cups of Rice Krispie cereal to the large bowl containing the peanut butter and marshmallow mixture. Gently fold the cereal into the gooey mixture until it’s all evenly coated. You want to do this relatively quickly, as the marshmallow mixture starts to set as it cools. Be careful not to crush the cereal too much; we want to maintain that delightful crispiness. Use a rubber spatula or a sturdy spoon for this. Make sure every single crispy bit gets a delicious coating.
6. Next, we’re going to incorporate the chocolate chips. While the mixture is still warm but not piping hot (you don’t want the chocolate to completely melt into the marshmallow goo at this stage, but just start to soften), gently fold in the 1 cup of milk chocolate chips. The residual heat from the cereal and marshmallow mixture will be enough to slightly soften the chocolate chips, creating those delightful pockets of melted chocolate throughout the squares. If you want more distinct melted chocolate swirls, you can reserve a few chocolate chips to sprinkle on top.
7. Transfer the mixture into your prepared baking pan. Working quickly, press the mixture evenly into the pan. You can use the back of a greased spoon or your hands (lightly greased or dampened with water) to press it down. The key here is to press firmly but gently. You want them to be compact enough to hold their shape but not so compressed that they lose their airy crispiness. If you opted for the parchment paper lining, you can use the overhangin extractg ends to help lift and press the mixture into the corners.
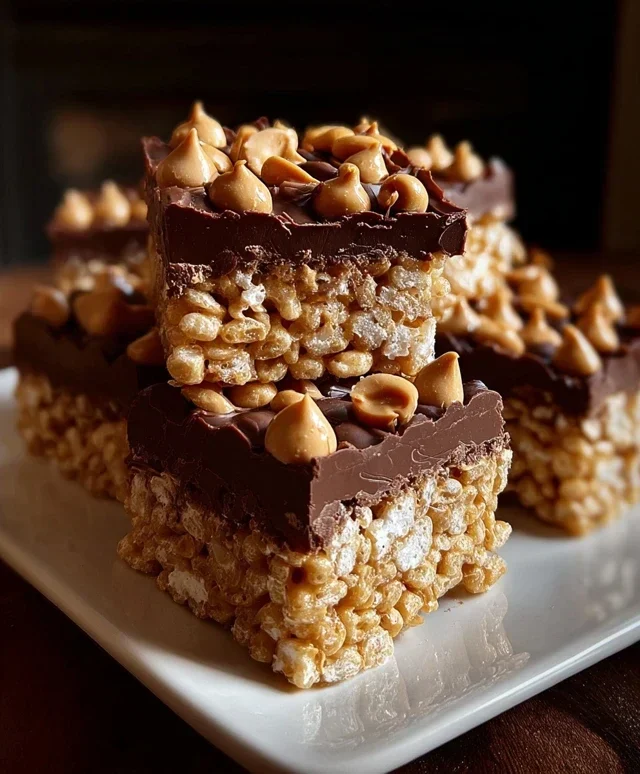
8. For an extra touch of flavor and visual appeal, sprinkle the optional chopped peanuts over the top of the pressed mixture. Gently press them into the surface so they adhere nicely. This adds another layer of nutty crunch and flavor that complements the peanut butter and chocolate perfectly.
9. Allow the squares to cool completely in the pan, which will take at least 30 minutes to an hour. This cooling period is essential for them to set properly. Resist the urge to cut into them too soon, or you’ll end up with a sticky, messy situation. Once they are fully cooled and firm, use the parchment paper overhang to lift the entire slab out of the pan. Then, using a sharp knife, cut them into your desired square or rectangular shapes. Enjoy your homemade, delicious Chocolate Peanut Butter Rice Krispie Squares!
Conclusion:
There you have it! My decadent Chocolate Peanut Butter Rice Krispie Squares recipe is incredibly simple to whip up, making it the perfect treat for any occasion. The irresistible combination of crunchy cereal, gooey marshmallows, rich chocolate, and creamy peanut butter is a guaranteed crowd-pleaser. These squares are wonderfully versatile, perfect for school lunches, birthday parties, or just a sweet afternoon pick-me-up. For an extra touch of indulgence, consider drizzling them with more melted chocolate or a swirl of peanut butter before they set. You can also get creative with variations like adding mini chocolate chips, chopped peanuts, or even a pinch of sea salt for a salty-sweet contrast.
I truly encourage you to give these Chocolate Peanut Butter Rice Krispie Squares a try. They’re a nostalgic favorite with a delightful grown-up twist that everyone will love. Don’t be afraid to experiment and make them your own!
Frequently Asked Questions:
Can I make these squares ahead of time?
Absolutely! These Chocolate Peanut Butter Rice Krispie Squares are best made a few hours ahead of time to allow them to fully set. They will keep well at room temperature in an airtight container for up to 3 days, making them perfect for make-ahead treats.
How can I prevent the mixture from sticking to my hands when pressing them into the pan?
A great trick is to lightly grease your hands with butter or cooking spray, or even run them under cold water before handling the warm mixture. This will prevent the sticky marshmallow and peanut butter from adhering to your fingers, making the pressing process much smoother.
What are some other flavor variations I could try?
The possibilities are endless! You could add a tablespoon of instant coffee granules to the melted marshmallows for a mocha twist, or fold in some shredded coconut for added texture. Even a sprinkle of festive M&Ms could be a fun addition for holidays!
Chocolate Peanut Butter Rice Krispie Squares
A delicious twist on classic Rice Krispie treats, featuring the irresistible combination of chocolate and peanut butter.
Ingredients
-
6 cups Rice Krispie cereal
-
½ cup peanut butter (smooth or crunchy)
-
¼ cup unsalted butter
-
40 regular size marshmallows or 1 ⅓ cups mini marshmallows
-
1 cup milk chocolate chips
-
Optional: chopped peanuts for garnish
Instructions
-
Step 1
Grease a 9×13 inch pan with butter or cooking spray. -
Step 2
In a large saucepan over low heat, melt the butter. Add the marshmallows and stir until completely melted and smooth. -
Step 3
Remove the saucepan from the heat. Stir in the peanut butter until well combined. -
Step 4
Add the Rice Krispie cereal to the marshmallow mixture and stir until evenly coated. -
Step 5
Gently fold in the milk chocolate chips until they are mostly distributed. They will melt slightly from the residual heat. -
Step 6
Press the mixture evenly into the prepared pan. If using, sprinkle chopped peanuts over the top and gently press them in. -
Step 7
Let the squares cool completely before cutting into them.
Important Information
Nutrition Facts (Per Serving)
It is important to consider this information as approximate and not to use it as definitive health advice.
Allergy Information
Please check ingredients for potential allergens and consult a health professional if in doubt.