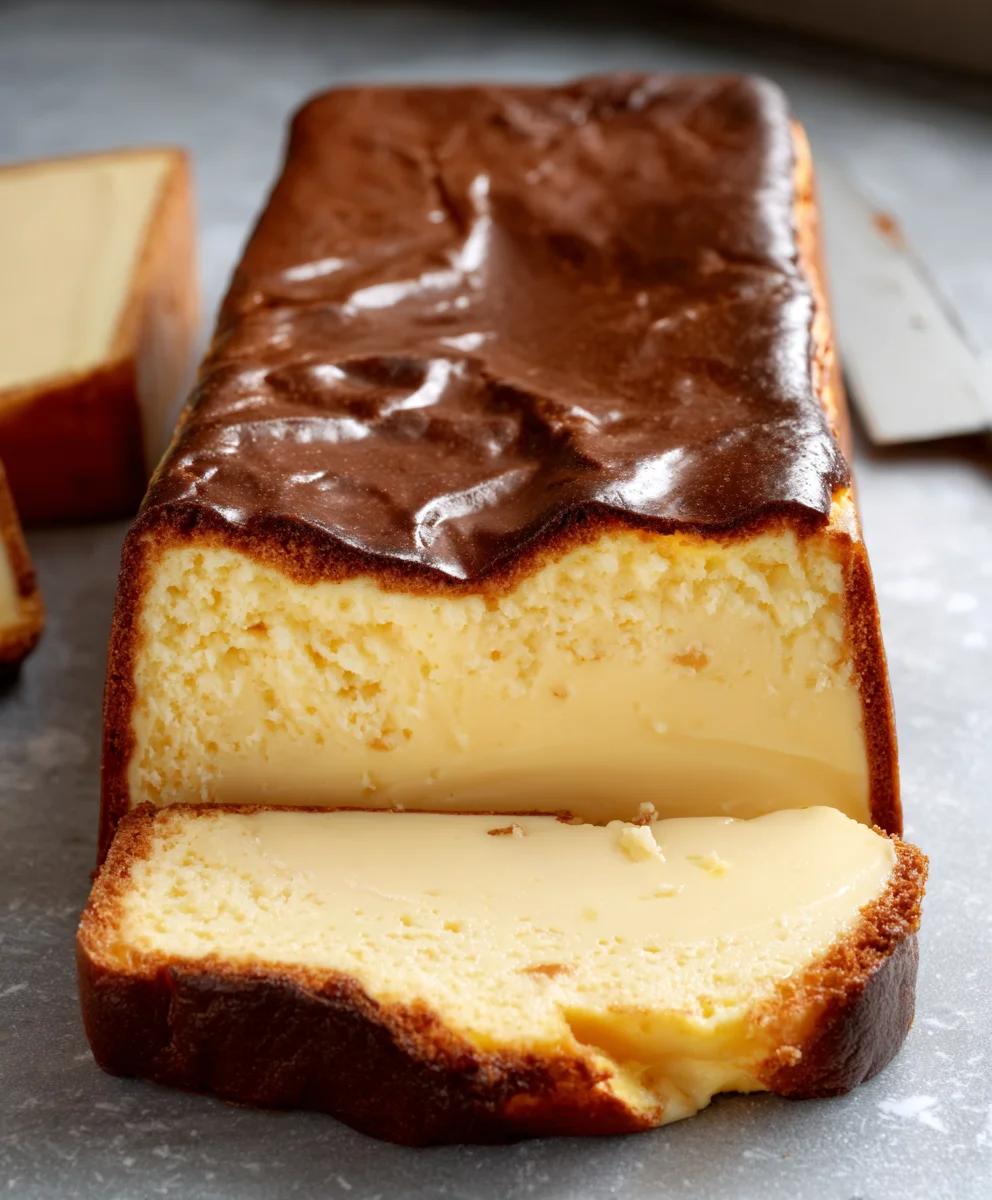
Easy Loaf Pan Burnt Basque Cheesecake Recipe-Decadent
Indulgent Burnt Basque Cheesecake in a Loaf Pan You’ll Love is not just a dessert; it’s an experience. Forget the fuss of traditional springform pans – we’re bringin extractg this incredibly creamy, gloriously caramelized masterpiece right into the cozy familiarity of your loaf pan. This method is a game-changer, making it accessible for even the most novice bakers to achieve that signature crackled, deeply browned exterior that hints at the magic within. People adore this cheesecake for its delightfully rustic charm and its unbelievably smooth, almost custardy interior that melts in your mouth. It’s a symphony of textures and flavors, with that subtle, smoky bitterness from the “burnt” top perfectly balancing the rich, sweet creaminess. It’s the perfect dessert to impress guests or simply to treat yourself after a long day, proving that sometimes, the simplest adaptations yield the most spectacular results. Get ready to fall head over heels for this approachable yet utterly luxurious take on a beloved classic.
Ingredients:
- 16 oz Full-Fat Cream Cheese, softened to room temperature
- 3/4 cup Granulated Sugar
- 3 large Eggs, at room temperature
- 1 cup Heavy Cream
- 1/4 cup All-Purpose Flour
- 1/4 teaspoon Salt
- 1 cup Whipped Cream, for serving
- 1 cup Fresh Berries, for serving
- 1/2 cup Caramel Sauce, for drizzling
Preparing the Indulgent Burnt Basque Cheesecake
Phase 1: Creamy Base Formation
- Begin extract by ensuring your 16 ounces of full-fat cream cheese is truly at room temperature. This is absolutely crucial for achieving a silky smooth cheesecake batter without lumps. If your cream cheese is still a bit firm, you can gently microwave it in short, 10-second bursts, stirring in between, until it’s pliable and soft. In a large mixing bowl, add the softened cream cheese. Using an electric mixer on medium speed, beat the cream cheese until it’s completely smooth and creamy. Scrape down the sides of the bowl with a spatula to make sure all the cream cheese is incorporated.
- Next, gradually add the 3/4 cup of granulated sugar to the cream cheese. Continue beating with the electric mixer on medium speed. You’re aiming to dissolve the sugar completely into the cream cheese. This process will take a few minutes, and it’s important to mix thoroughly to avoid a grainy texture in your finished cheesecake. Again, pause periodically to scrape down the sides and bottom of the bowl. This step is where the magic starts to happen, creating that rich, sweet foundation for our indulgent dessert.
- Now, it’s time to incorporate the eggs. Make sure your 3 large eggs are also at room temperature; this helps them emulsify better with the cream cheese mixture, leading to a smoother, more stable batter. Add the eggs one at a time, beating well after each addition until just combined. Do not overmix at this stage. Overbeating can incorporate too much air, which can cause the cheesecake to puff up too much and then crack as it cools. You want a dense, creamy texture, not a foamy one.
Phase 2: Enriching the Batter
- Pour in the 1 cup of heavy cream and mix on low speed until just incorporated. The heavy cream adds richness and contributes to the luscious mouthfeel of the cheesecake. While the recipe calls for heavy cream, if you find yourself with a lighter variety, it will still work, though the final texture might be slightly less decadent. Avoid overmixing once the cream is added. We’re building a delicate balance here.
- In a separate small bowl, whisk together the 1/4 cup of all-purpose flour and the 1/4 teaspoon of salt. Sifting the flour can help prevent any small clumps from forming in your batter, ensuring an even smoother consistency. Gradually add this dry ingredient mixture to the wet ingredients in the large bowl, mixing on low speed until just combined. The flour acts as a binder, helping the cheesecake set properly without becoming rubbery. Again, stop mixing as soon as the flour is incorporated to maintain that desirable creamy texture.
Phase 3: Baking and Achieving the “Burnt” Charm
- Preheat your oven to a high temperature, typically around 400-425°F (200-220°C). This high heat is what gives the Burnt Basque Cheesecake its signature caramelized, almost burnt, dark crust on top, while keeping the interior incredibly creamy and molten. Prepare a standard loaf pan by lining it with parchment paper, leaving an overhang on all sides. This overhang will make it easy to lift the cheesecake out of the pan once it’s baked and cooled. Pour the cheesecake batter into the prepared loaf pan. You can gently tap the pan on the counter a few times to release any large air bubbles.
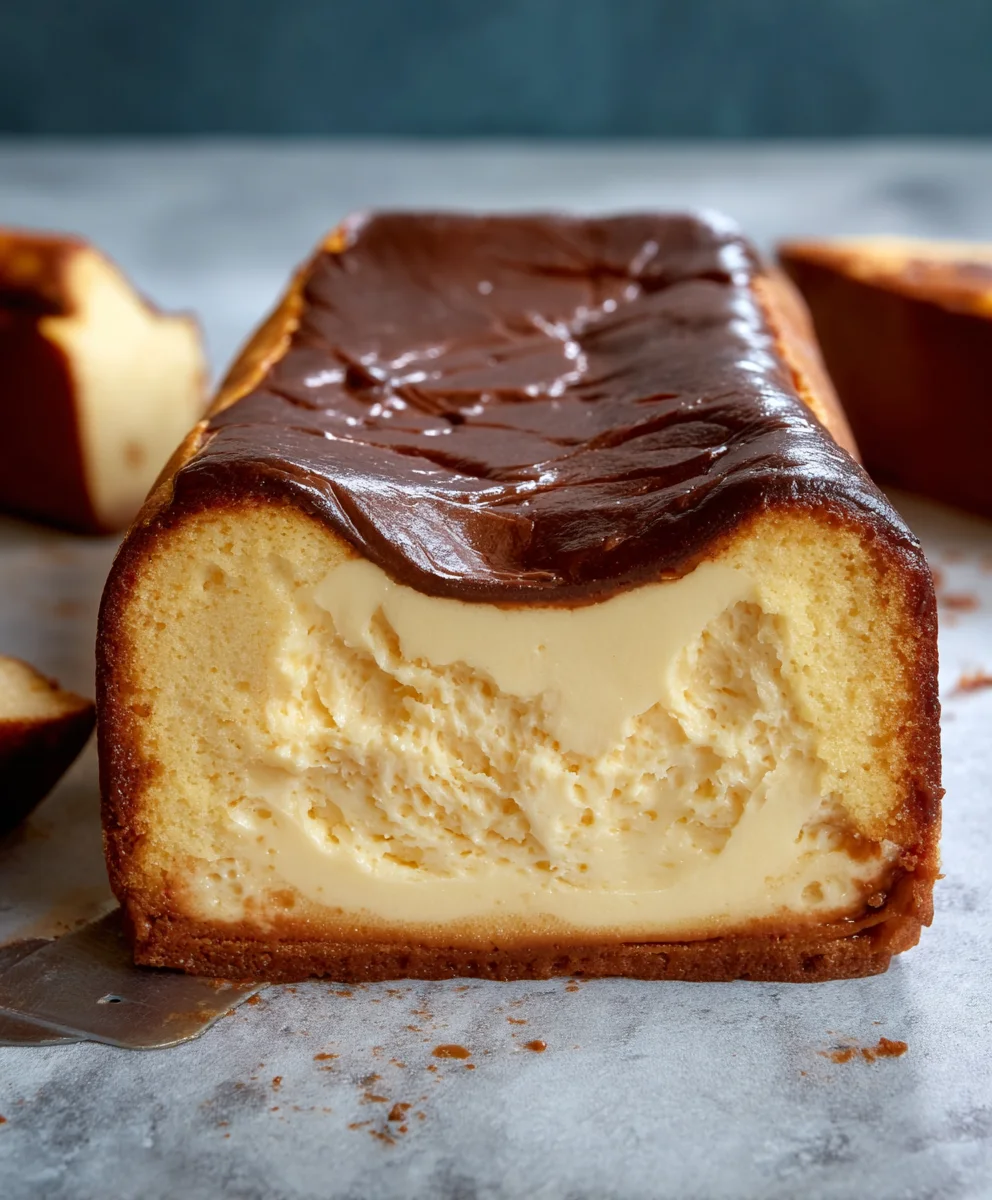
- Bake the cheesecake in the preheated oven for approximately 30-40 minutes. The exact baking time will vary depending on your oven. You’re looking for the edges of the cheesecake to be set and a deep, dark brown, almost blackened in some spots. The center should still be quite jiggly, like a perfectly cooked custard. This is the hallmark of a true Burnt Basque Cheesecake – the contrast between the deeply caramelized exterior and the creamy, unset center. Do not be alarmed by the dark color; that’s precisely what we’re aiming for!
- Once baked, carefully remove the loaf pan from the oven and let the cheesecake cool completely in the pan on a wire rack. As it cools, the center will continue to set up, but it should remain wonderfully soft and creamy. Resist the temptation to unmoved it while it’s still warm. After it has cooled to room temperature, you can transfer it to the refrigerator for at least 4 hours, or preferably overnight, to allow it to fully chill and firm up. This chilling period is essential for the best texture and flavor.
Phase 4: Serving Your Masterpiece
- To serve your Indulgent Burnt Basque Cheesecake, use the parchment paper overhang to carefully lift the entire cheesecake out of the loaf pan. Place it on a serving platter. Now comes the fun part: garnishing! Drizzle generously with the 1/2 cup of caramel sauce, letting it cascade down the sides. The sweet, rich caramel perfectly complements the slightly bitter notes of the caramelized crust.
- Arrange the 1 cup of fresh berries around the cheesecake or on top for a burst of freshness and color. The tartness of the berries cuts through the richness of the cheesecake beautifully. Finally, serve each slice with a dollop of the 1 cup of whipped cream. The light, airy whipped cream provides a lovely contrast to the dense, creamy cheesecake. Slice and enjoy this incredibly satisfying dessert!
Conclusion:
And there you have it! You’ve successfully conquered the challenge and created a truly magnificent Indulgent Burnt Basque Cheesecake in a Loaf Pan You’ll Love. This recipe, adapted for the convenient loaf pan, delivers all the signature smoky, caramelized notes and a creamy, custardy interior that makes the Basque cheesecake so beloved, without the need for a springform pan. The slightly rustic, burnt top is not just for show; it’s integral to the flavor profile, offering a delightful contrast to the sweet creaminess within.
For serving, this cheesecake is wonderfully versatile. It shines on its own, but a simple dusting of powdered sugar or a few fresh berries can elevate it further. Consider pairing it with a rich coffee or a dessert grape juice for a truly decadent experience. Don’t be afraid to experiment with variations! A swirl of raspberry puree before baking, a hint of lemon zest in the batter, or even a topping of salted caramel after it cools can add exciting new dimensions to your Indulgent Burnt Basque Cheesecake in a Loaf Pan You’ll Love. This recipe is designed to be forgiving and rewarding, so embrace the process and enjoy the delicious results. I truly hope you adore making and devouring this unique take on a classic!
FAQs
Why is the top of the cheesecake burnt?
The “burnt” appearance is intentional and a hallmark of the Basque cheesecake. It’s achieved by baking at a high temperature, which caramelizes the sugars on the surface, creating a smoky, slightly bitter, and deeply flavorful crust that beautifully complements the creamy interior. It’s not actually burned, but rather intentionally caramelized to perfection.
Can I make this cheesecake ahead of time?
Absolutely! The Indulgent Burnt Basque Cheesecake in a Loaf Pan You’ll Love can be made a day in advance and stored, covered, in the refrigerator. This also allows the flavors to meld and deepen, often resulting in an even more delicious final product. Let it come to room temperature for about 30 minutes before serving for the best texture.
What if my cheesecake cracks on top?
Don’t worry if your cheesecake develops a crack, especially with the high heat method! A cracked top doesn’t affect the taste or texture of the Indulgent Burnt Basque Cheesecake in a Loaf Pan You’ll Love. In fact, the rustic, slightly imperfect look is part of its charm. You can always cover minor cracks with powdered sugar or toppings.
Easy Loaf Pan Burnt Basque Cheesecake
A decadent and surprisingly easy Burnt Basque Cheesecake baked in a loaf pan, featuring a signature caramelized crust and a creamy, molten interior.
Ingredients
-
16 oz Full-Fat Cream Cheese, softened to room temperature
-
3/4 cup Granulated Sugar
-
3 large Eggs, at room temperature
-
1 cup Heavy Cream
-
1/4 cup All-Purpose Flour
-
1/4 teaspoon Salt
-
1 cup Whipped Cream, for serving
-
1 cup Fresh Berries, for serving
-
1/2 cup Caramel Sauce, for drizzling
Instructions
-
Step 1
Ensure cream cheese is at room temperature. Beat softened cream cheese in a large bowl until smooth and creamy using an electric mixer on medium speed. Scrape down the sides. -
Step 2
Gradually add granulated sugar to the cream cheese and continue beating until completely dissolved, about a few minutes. Scrape down the bowl sides and bottom periodically. -
Step 3
Add eggs one at a time, beating well after each addition until just combined. Do not overmix to avoid excessive air incorporation. -
Step 4
Pour in heavy cream and mix on low speed until just incorporated. In a separate bowl, whisk together all-purpose flour and salt. Gradually add dry ingredients to wet ingredients, mixing on low speed until just combined. Do not overmix. -
Step 5
Preheat oven to 400-425°F (200-220°C). Line a loaf pan with parchment paper, leaving an overhang. Pour batter into the pan and gently tap to release air bubbles. -
Step 6
Bake for 30-40 minutes, until edges are set and deeply browned, and the center is still jiggly. Remove from oven and let cool completely in the pan on a wire rack. -
Step 7
Chill the cheesecake in the refrigerator for at least 4 hours, or preferably overnight, for best texture. Lift cheesecake out of the pan using the parchment overhang and place on a serving platter. -
Step 8
Drizzle with caramel sauce, arrange fresh berries around or on top, and serve with whipped cream.
Important Information
Nutrition Facts (Per Serving)
It is important to consider this information as approximate and not to use it as definitive health advice.
Allergy Information
Please check ingredients for potential allergens and consult a health professional if in doubt.